
Your water heater fails at the worst possible moment. Cold showers, disrupted routines, and the looming cost of emergency repairs create immediate stress. The good news? Most issues (85%) can be fixed with routine maintenance and safe troubleshooting. This guide walks you through practical steps to extend your water heater’s life, save money, and restore comfort to your Sacramento home.
Table of Contents
- Introduction To Water Heater Troubleshooting
- Prerequisites And Safety Precautions Before Troubleshooting
- Step By Step Sediment Draining And Flushing Guide
- Inspecting And Replacing The Anode Rod
- Checking And Maintaining The Temperature Pressure Relief TPR Valve
- Common Water Heater Problems And Troubleshooting
- When To Call A Professional And Expected Costs And Timelines
- Expected Outcomes And Maintenance Benefits
- Get Expert Help When You Need It
- Water Heater Troubleshooting FAQ
Key Takeaways
| Point | Details |
|---|---|
| Maintenance Success Rate | Routine maintenance resolves 85% of common water heater problems before professional help is needed. |
| Critical Safety Step | Always shut off power or gas supply before troubleshooting to prevent injury or equipment damage. |
| Preventive Actions | Regular sediment flushing and anode rod inspection prevent costly tank failures and extend lifespan. |
| Annual Safety Check | Test the TPR valve yearly to avoid dangerous pressure buildup that could cause tank rupture. |
| Professional Boundary | Know when to call a licensed plumber to prevent injury, warranty voids, or more expensive repairs. |
Introduction to Water Heater Troubleshooting
Sacramento homeowners rely on three primary water heater types: gas tank models, electric tank systems, and modern tankless units. Each type serves reliably for 10 to 15 years under normal conditions. However, daily use creates wear that eventually manifests as common problems.
You’ll likely encounter these issues during your water heater’s lifetime:
- No hot water or inconsistent temperature
- Visible leaks pooling around the base
- Strange rumbling, popping, or banging noises
- Discolored or rusty water from hot taps
- Low water pressure affecting multiple fixtures
Sediment buildup decreases efficiency and causes overheating that shortens your heater’s life. Early troubleshooting catches small problems before they become expensive emergencies. By investing an hour or two in basic maintenance, you avoid service calls costing hundreds of dollars.
Understanding your specific water heater model helps you troubleshoot effectively. Check the manufacturer label for your unit’s capacity, fuel type, and age. Keep your owner’s manual accessible for model-specific guidance. If you need detailed water heater troubleshooting Sacramento guidance, consult local resources familiar with regional water conditions.
The energy department water heating tips emphasize that proper maintenance significantly extends equipment life. Simple preventive actions performed annually keep your system running efficiently and safely.
Prerequisites and Safety Precautions Before Troubleshooting
Gather essential tools before starting any water heater work. You’ll need a garden hose long enough to reach a drain, flathead and Phillips screwdrivers, a bucket for catching water, work gloves, and safety goggles. A flashlight helps inspect dark areas around the tank base.
Always turn off electric power or gas supply before maintenance to prevent injury or damage. For electric units, flip the dedicated circuit breaker to the off position. Gas models require turning the gas valve to the pilot or off setting according to manufacturer instructions.
Follow these critical safety steps:
- Verify power is disconnected using a voltage tester for electric models
- Allow water to cool for at least two hours before draining
- Clear flammable materials from the workspace including paint, gasoline, and cleaning supplies
- Wear protective gloves and goggles throughout all procedures
- Keep a fire extinguisher nearby when working on gas units
Pro Tip: Label your circuit breaker box clearly so you can quickly locate the water heater circuit during emergencies. This simple step saves valuable time when you need to shut off power fast.
Never skip safety precautions to save time. Water heaters contain scalding water under pressure. Gas models present additional fire and carbon monoxide risks. Taking five extra minutes to prepare properly prevents injuries that could land you in the emergency room.
If you lack confidence in your ability to safely complete maintenance tasks, hire a professional. The basic plumbing tools for homeowners article explains which tools justify the investment versus when professional service makes better financial sense.
Review water heater maintenance safety guidelines published by state health departments for additional precautions specific to your water heater type.
Step by Step Sediment Draining and Flushing Guide
Annual draining and flushing removes sediment which improves efficiency and reduces bacterial risks like Legionella. This maintenance task ranks as the single most important action you can take to extend your water heater’s life.
Follow these steps to safely drain and flush your tank:
- Turn off power at the breaker or set gas valve to pilot position
- Shut off the cold water supply valve at the top of the tank
- Connect a garden hose to the drain valve at the tank’s base
- Run the hose to a floor drain, sump pump, or outside location
- Open a hot water faucet somewhere in your home to allow air into the system
- Open the drain valve and let water flow until it runs clear
- Close the drain valve and remove the hose
- Open the cold water supply valve to refill the tank
- Once hot water flows steadily from the open faucet, close it
- Restore power or return gas valve to on position
Pro Tip: If sediment clogs the drain valve, open and close it several times to break up blockages. Attach a short piece of garden hose and use it to stir water near the valve opening.
The initial water discharge will appear brown or rusty as sediment buildup exits the tank. Continue flushing until water runs clear, which typically takes 10 to 20 minutes. Hard water areas may require longer flushing times.
| Maintenance Frequency | Water Hardness Level | Expected Benefit |
|---|---|---|
| Annual | Soft to Moderate | Normal efficiency, extended lifespan |
| Semi-annual | Hard | Reduced sediment, optimal performance |
| Quarterly | Very Hard | Maximum protection, prevents premature failure |
Sacramento’s moderately hard water means annual flushing suffices for most homeowners. If you notice persistent sediment after flushing, increase frequency to twice yearly. The water heater maintenance guide provides additional seasonal maintenance recommendations.
Consult professional water heater flushing guidance if you encounter complications during the draining process. Some older valves become corroded and won’t close properly after opening.
Inspecting and Replacing the Anode Rod
The anode rod sacrifices itself to protect your tank from corrosion. This metal rod attracts corrosive elements in your water, deteriorating over time while keeping tank steel intact. Without a functioning anode rod, your tank rusts from the inside.
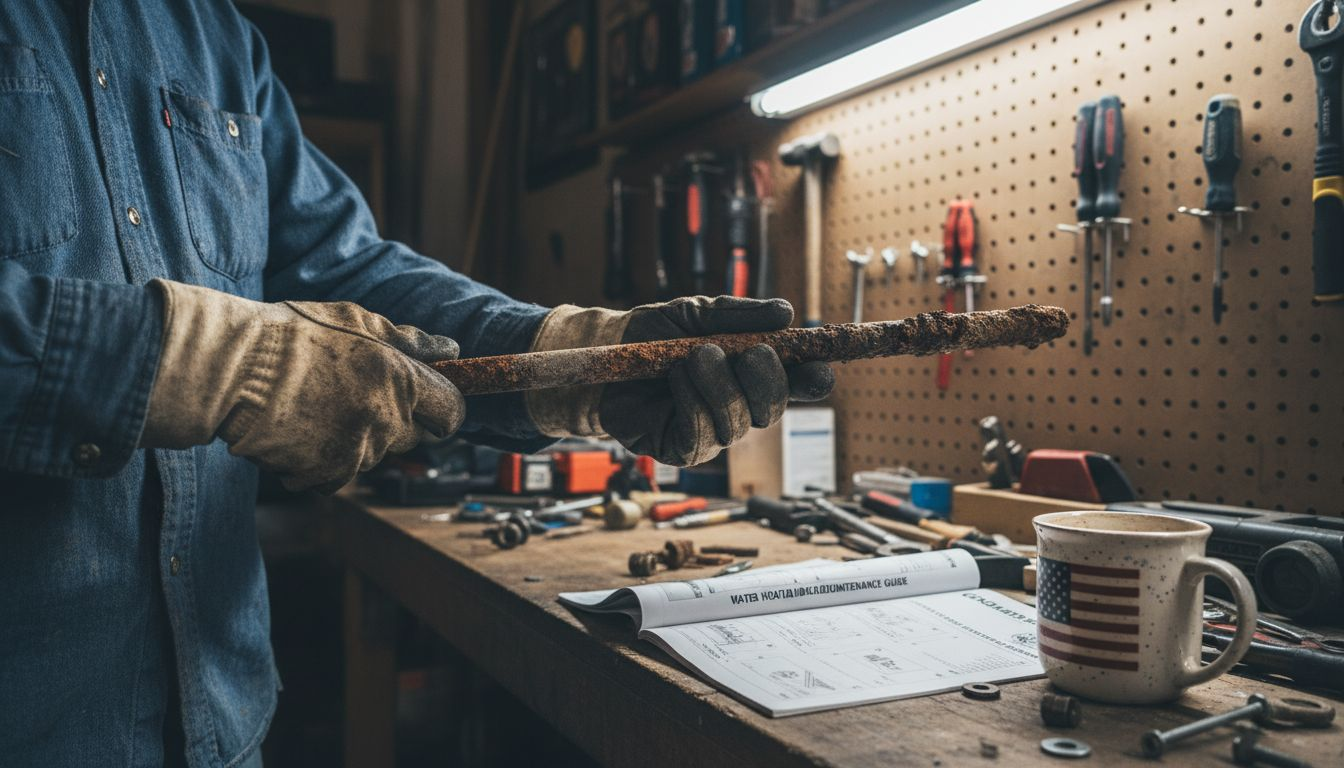
Inspect the anode rod every 1 to 3 years and replace it when more than six inches of core wire is exposed or the rod measures less than half an inch thick. Most homeowners should replace the anode rod every 3 to 4 years to prevent tank corrosion.
Follow these inspection steps:
- Locate the anode rod access on top of the tank
- Turn off power and cold water supply
- Use a socket wrench to loosen the hex head fitting
- Remove the rod slowly and inspect its condition
- Check for heavy calcium deposits or exposed core wire
Rusty or discolored hot water signals advanced anode rod deterioration. This symptom means corrosion has likely reached your tank walls. Immediate rod replacement may extend tank life, but severe cases require full tank replacement.
Pro Tip: Take a photo of your old anode rod before shopping for a replacement. This visual reference helps you select the correct size and type at the hardware store.
Replacing the anode rod yourself saves the $150 to $200 service call fee. However, severely corroded rods sometimes seize in place and require professional extraction tools. Forcing a stuck rod risks damaging tank threads and voiding your warranty.
The water heater maintenance checklist includes anode rod inspection alongside other critical maintenance tasks. Setting calendar reminders ensures you never miss this important service interval.
Refer to anode rod inspection guidance for detailed specifications on selecting the right replacement rod for your water heater model.
Checking and Maintaining the Temperature Pressure Relief TPR Valve
The TPR valve serves as your water heater’s critical safety device. It prevents dangerous pressure and temperature buildup that could cause catastrophic tank rupture. A malfunctioning TPR valve puts your home and family at serious risk.
Test the TPR valve annually by lifting the lever to ensure it releases pressure properly and resets. This simple test confirms the valve will function during an actual overpressure event.
Perform this annual test:
- Place a bucket under the discharge pipe
- Lift the TPR valve lever partway up
- Hot water should flow from the discharge pipe
- Release the lever and verify water stops flowing
- Listen for the valve to snap back into closed position
If water continues trickling after you release the lever, the valve has failed and needs immediate replacement. Never attempt to repair a faulty TPR valve. Replace it with a new unit rated for your water heater’s specifications.
Critical TPR valve safety rules:
- Never cap or block the discharge pipe
- Route discharge pipe to a safe drainage location
- Replace valves that leak or fail testing immediately
- Install discharge pipe to terminate within 6 inches of floor level
Some older installations route discharge pipes directly into drain systems. Current codes require air gaps to prevent contamination backflow. When replacing a failed valve, upgrade the discharge piping to meet current standards.
Pro Tip: Test your TPR valve during your annual sediment flush. Combining these maintenance tasks saves time and ensures you don’t forget this critical safety check.
Professional replacement typically costs $150 to $250 including parts and labor. This investment protects against potential explosion hazards worth thousands in damage. The select water heater repair professional guide helps you find qualified technicians for valve replacement.
Review TPR valve testing guidelines for manufacturer recommendations specific to your water heater model.
Common Water Heater Problems and Troubleshooting
Common symptoms point to specific causes requiring targeted fixes. Understanding the relationship between symptoms and root causes helps you troubleshoot efficiently.
| Symptom | Likely Cause | DIY Fix | Professional Help |
|---|---|---|---|
| No hot water | Failed heating element or pilot light | Relight pilot; check breaker | Replace element or thermostat |
| Rust-colored water | Corroded anode rod or tank rust | Replace anode rod immediately | Tank replacement if severe |
| Leaking tank | Cracked tank or loose fittings | Tighten connections | Replace tank if cracked |
| Low pressure | Sediment buildup or valve problems | Flush tank; clean aerators | Valve replacement |
| Strange noises | Sediment causing steam bubbles | Drain and flush thoroughly | Heating element replacement |
No hot water frustrates homeowners most frequently. Electric water heaters typically fail when heating elements burn out or thermostats malfunction. Gas units lose hot water when pilot lights extinguish or gas valves fail. Check these simple fixes first:
- Verify circuit breaker hasn’t tripped for electric models
- Relight pilot following manufacturer instructions for gas units
- Reset high temperature cutoff switch if equipped
- Adjust thermostat to 120°F for optimal efficiency and safety
Rust-colored hot water indicates your anode rod has completely deteriorated or tank corrosion has begun. Replace the anode rod immediately and monitor water quality. If discoloration persists after rod replacement, tank rust has compromised the vessel and replacement becomes necessary.
Leaks demand immediate attention regardless of size. Small drips from fittings sometimes tighten easily with a wrench. Leaks from the tank body signal catastrophic failure requiring immediate replacement. Water pooling around the base often comes from TPR valve discharge or drain valve seepage.
Pro Tip: Place a moisture alarm under your water heater to detect leaks early before they cause extensive damage. These inexpensive devices provide peace of mind and early warning.
The common water heater problems and fixes resource addresses Sacramento-specific issues related to local water quality. Hard water accelerates certain failure modes requiring adapted maintenance schedules.
Implementing water heater maintenance tips prevents most common problems before they disrupt your daily routine. Regular attention costs far less than emergency repairs.
Consult the common water heater issues guide for additional troubleshooting flowcharts organized by symptom type.
When to Call a Professional and Expected Costs and Timelines
Water heater repairs typically cost $150 to $500 depending on the problem’s complexity and required parts. Full replacements range from $800 to $1,500 or more including installation and disposal of your old unit.
Call a licensed plumber immediately for these situations:
- Major leaks flooding your space
- Gas odors indicating supply line problems
- Electrical issues beyond simple breaker resets
- Tank corrosion requiring replacement
- Any situation where you feel unsafe proceeding
Avoid DIY repairs if power or gas supply is not safely turned off due to injury risk. Professional plumbers carry insurance and warranties protecting you from complications. Attempting complex repairs yourself may void manufacturer warranties and create liability issues.
Know your limits. Most issues (85%) are fixable by maintenance without professional help, but the remaining 15% require expertise you shouldn’t fake. Honest self-assessment prevents injuries and more expensive damage.
Typical service timelines:
- Emergency repairs: Same day to 24 hours
- Scheduled maintenance: Within one week
- Full replacement: 1 to 3 days including permits
- Complex installations: Up to one week
Understanding water heater replacement costs helps you budget appropriately when repair costs approach replacement value. Generally, repairs exceeding 50% of replacement cost justify upgrading to a new efficient model.
The repair vs replacement advice calculator weighs factors including age, efficiency, and repair history to guide your decision. Units older than 10 years with major component failures usually warrant replacement.
Access to emergency water heater repair service prevents extended periods without hot water during winter months or family emergencies.
Review water heater safety standards to understand code requirements affecting repair versus replacement decisions in your jurisdiction.
Expected Outcomes and Maintenance Benefits
Routine maintenance delivers measurable benefits extending beyond avoiding repair bills. You’ll experience improved energy efficiency as sediment removal allows heating elements to work effectively. Safety increases dramatically when you verify TPR valves and pilot lights function correctly.
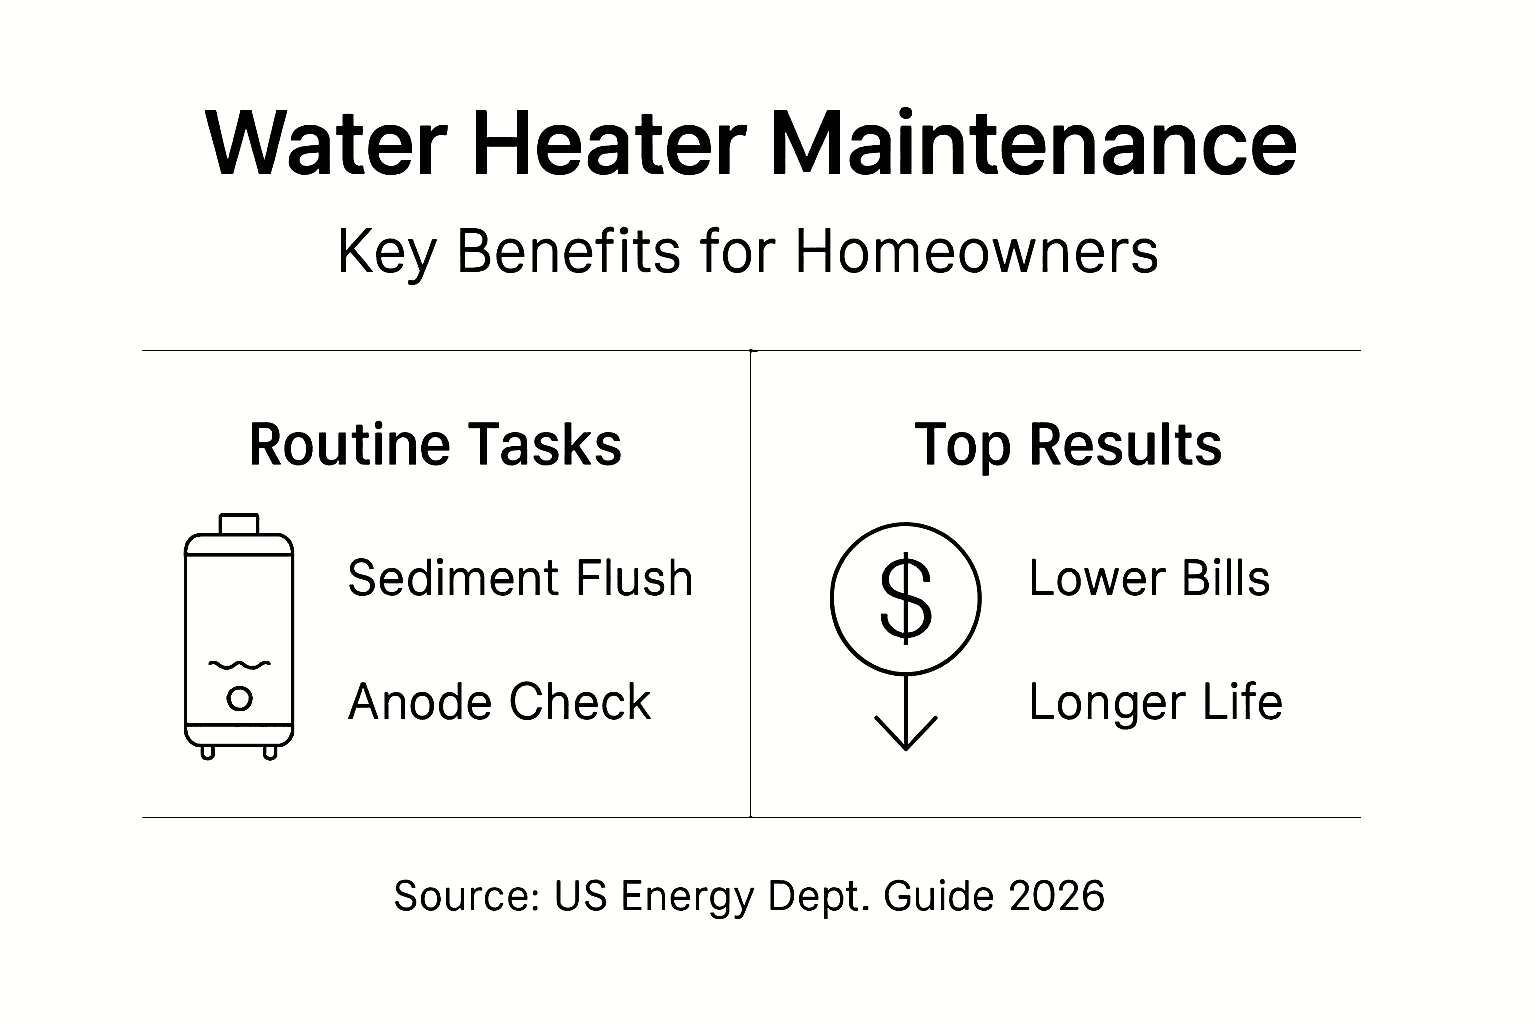
Proper maintenance extends your water heater’s lifespan by several years. The average tank-style unit lasts 10 to 15 years, but well-maintained systems often exceed 20 years of reliable service. This extended life delays the $800 to $1,500 replacement cost significantly.
Key benefits you’ll realize:
- Lower monthly utility bills from improved efficiency
- Reduced risk of catastrophic failures and water damage
- Consistent hot water temperature and pressure
- Fewer emergency service calls disrupting your schedule
- Higher home resale value with documented maintenance records
Maintaining your water heater at the manufacturer’s recommended temperature setting of 120°F optimizes energy use while preventing scalding risks. Every 10-degree reduction in temperature saves 3% to 5% on water heating costs.
Pro Tip: Keep a maintenance log documenting dates you flush sediment, replace anode rods, and test safety valves. This record proves valuable when selling your home or filing warranty claims.
Recognizing signs of water heater failure early allows you to plan replacements during sales periods rather than paying premium emergency pricing. Strategic timing saves hundreds of dollars on identical equipment.
Investing two hours annually in preventive maintenance protects a $1,000+ appliance while ensuring your family’s comfort and safety. The return on this time investment far exceeds any other home maintenance task.
Get Expert Help When You Need It
While many water heater problems yield to DIY troubleshooting, some situations demand professional expertise for safety and lasting results. Attempting repairs beyond your skill level risks injury, property damage, and voided warranties that cost far more than hiring qualified help.
Legacy Plumbing & Drain offers expert water heater repair, maintenance, and replacement services throughout Sacramento. Our licensed technicians follow strict safety protocols and use quality parts backed by solid warranties. We understand Sacramento’s unique water conditions and recommend maintenance schedules optimized for local hardness levels. Whether you need routine flushing, anode rod replacement, or emergency leak repair, we respond quickly with transparent pricing and lasting solutions. Weighing repair vs replacement options becomes straightforward with our honest assessment and clear explanations. When choosing a water heater repair company, experience and reliability matter most. Contact Legacy Plumbing & Drain today to schedule an inspection or repair and keep your home comfortable year-round.
Water Heater Troubleshooting FAQ
How often should I flush my water heater to prevent sediment buildup?
Flush your water heater once every year to maintain optimal performance and reduce sediment accumulation. Sacramento’s moderately hard water typically requires annual flushing, though homes with very hard water benefit from semi-annual maintenance. If you notice rumbling noises or decreased efficiency between flushings, increase frequency to prevent damage. Consistent flushing extends your heater’s lifespan and maintains energy efficiency.
What safety precautions should I take before troubleshooting my water heater?
Always shut off power or gas supply at the breaker or valve following manufacturer instructions before beginning any maintenance. Wear protective gloves and safety goggles to prevent burns from hot water or injuries from tools. Clear flammable materials from your workspace and allow water to cool for at least two hours before draining. Never bypass safety steps to save time, as water heaters contain scalding water under dangerous pressure.
How do I know when to call a professional for my water heater problem?
Seek professional help for persistent leaks, gas line issues, or electrical problems beyond simple breaker resets. Call immediately if you smell gas, see electrical sparks, or encounter leaks you cannot stop. Complex repairs requiring specialized tools or expertise should always go to licensed plumbers who carry proper insurance and provide warranty protection. Review the detailed guidance in our water heater troubleshooting tips to understand which tasks suit DIY approaches versus professional intervention.
Can I safely replace the anode rod myself?
If you feel comfortable using basic tools and following safety procedures, you can replace the anode rod yourself and save $150 to $200 in service fees. However, severely corroded rods sometimes seize in place and require professional extraction to avoid damaging tank threads. Hire a licensed plumber if you lack confidence in your ability or if the rod won’t budge after reasonable effort. Forcing stuck components risks voiding your warranty and creating expensive complications that cost more than professional service.
Recommended
- Troubleshooting Water Heaters For Homeowners: Step-by-Step Guide – Legacy Plumbing & Drain – Emergency Plumbers Of Sacramento
- Water Heater Troubleshooting For Sacramento Homeowners (2025) – Legacy Plumbing & Drain – Emergency Plumbers Of Sacramento
- Water Heater Maintenance Checklist: Prevent Leaks & Repairs
- Understanding Your Water Heater Maintenance Guide – Legacy Plumbing & Drain – Emergency Plumbers Of Sacramento