Plumbing surprises can hit when you least expect it and even a tiny leak can cost you. The average household leaks can waste nearly 10,000 gallons of water each year, according to the EPA. Most people think keeping pipes dry and gutters clear is enough. The real shock comes when hidden issues quietly drain your wallet and damage your home—often before anyone sees a drip.
Table of Contents
- Step 1: Inspect Your Plumbing System For Leaks
- Step 2: Clean And Clear Gutters And Downspouts
- Step 3: Drain And Flush Your Water Heater
- Step 4: Evaluate And Insulate Pipes For Temperature Changes
- Step 5: Test Sump Pumps And Backwater Valves
- Step 6: Schedule Professional Inspections For Complex Issues
Quick Summary
| Key Point | Explanation |
|---|---|
| 1. Inspect for plumbing leaks | Conduct a thorough inspection of pipes, joints, and connections to catch leaks early and avoid costly repairs. |
| 2. Maintain gutters and downspouts | Clear out debris to ensure proper water flow and prevent structural damage from clogged gutters. |
| 3. Drain and flush your water heater | Regularly clean your water heater to remove sediment buildup, improving efficiency and extending its lifespan. |
| 4. Insulate exposed plumbing | Protect pipes from temperature changes by applying proper insulation, preventing cracks and inefficiencies. |
| 5. Schedule professional inspections | Hire licensed plumbers for complex issues to identify problems early and maintain your system’s longevity. |
Step 1: Inspect Your Plumbing System for Leaks
Seasonal plumbing maintenance begins with a comprehensive leak inspection that can save homeowners significant time and money. Detecting issues early prevents small problems from escalating into expensive repairs or potential water damage to your home’s structure and belongings.
Start by conducting a systematic visual examination of your entire plumbing system. Walk through your home methodically, checking exposed pipes under sinks, around toilets, near water heaters, and in basement or crawl spaces. Look for telltale signs of leakage such as water stains, unusual discoloration on walls or ceilings, puddles, or unexplained moisture. Pay special attention to pipe joints, connections, and areas where pipes bend or change direction, as these are common points of potential weakness.
To perform a more precise leak detection, utilize the water meter test recommended by the U.S. Environmental Protection Agency. Turn off all water sources in your home completely. Note the current water meter reading, then wait approximately 30 minutes without using any water. Recheck the meter reading. If the numbers have changed, you likely have a hidden leak somewhere in your plumbing system that requires professional investigation.
Additional key areas to scrutinize include:
- Faucets and shower heads for constant dripping
- Toilet base and tank for signs of water accumulation
- Exterior hose bibs and outdoor plumbing connections
- Water heater connections and potential condensation
Consider our comprehensive plumbing inspection guide for a more detailed walkthrough of potential trouble spots. Remember that some leaks remain invisible to the naked eye, so if you suspect an issue but cannot locate it, professional assessment becomes crucial. Catching and addressing leaks early can prevent extensive water damage and protect your home’s structural integrity.
Step 2: Clean and Clear Gutters and Downspouts
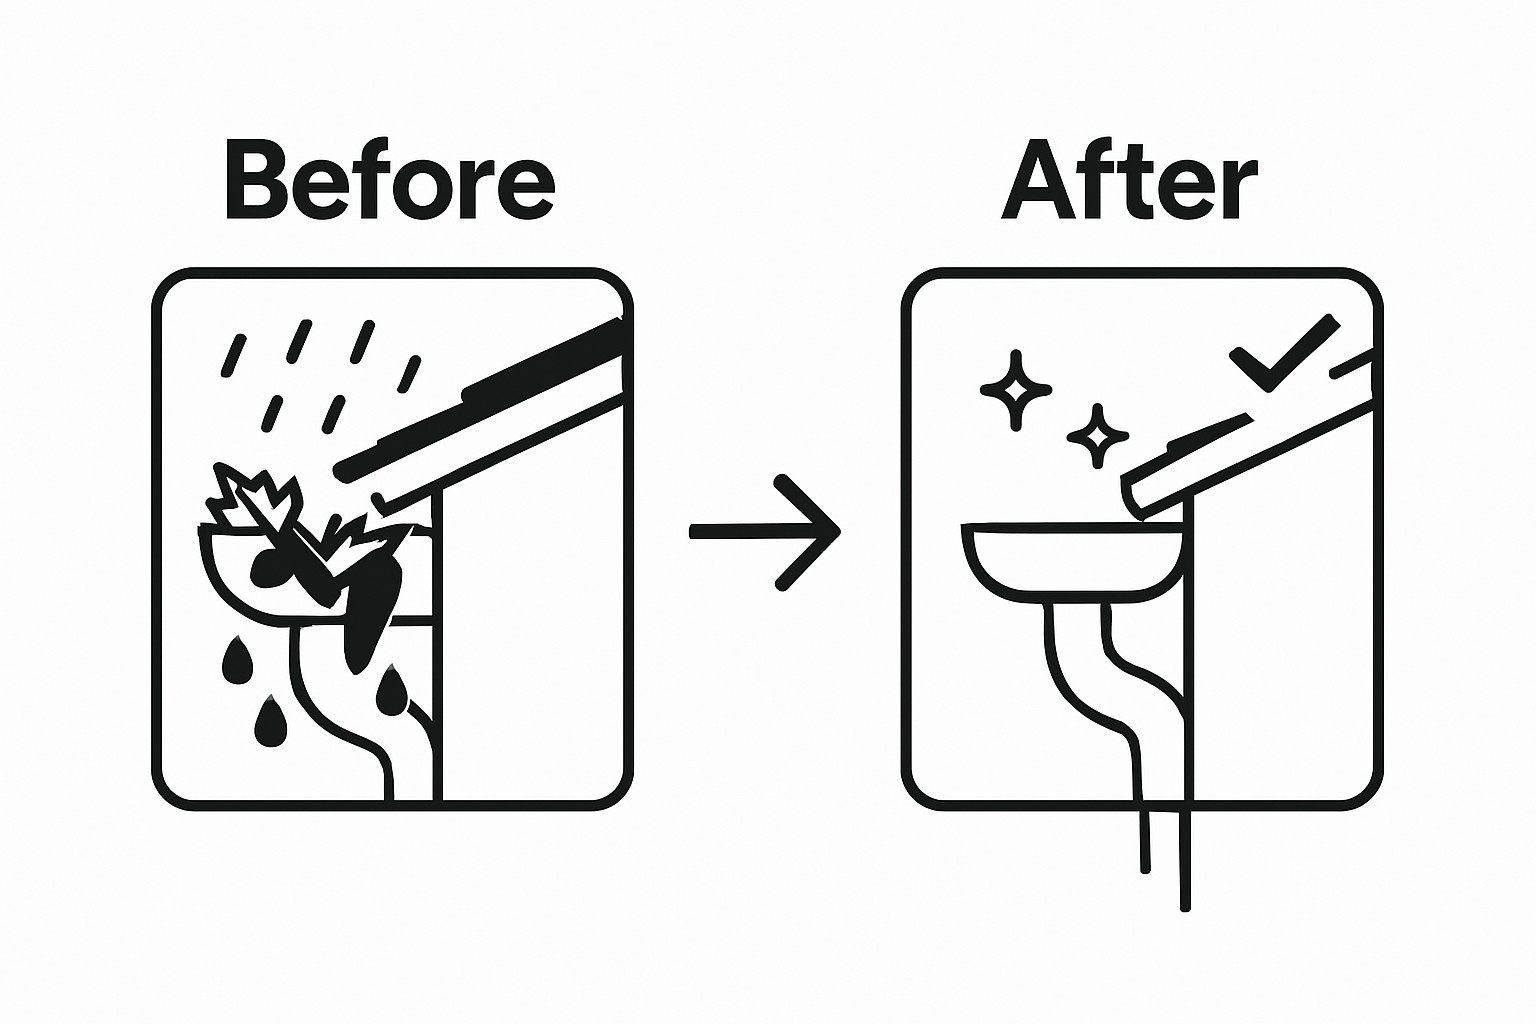
Proper gutter and downspout maintenance is a critical component of seasonal plumbing maintenance that protects your home from water damage and potential foundation issues. Clogged gutters can lead to water overflow, which can compromise your home’s structural integrity and create significant drainage problems.
Safety should be your first priority when approaching gutter cleaning. Begin by gathering necessary equipment: a sturdy ladder, heavy-duty work gloves, a garden trowel or gutter scoop, a bucket for debris, and a garden hose. Wear non-slip shoes and consider having a helper stabilize the ladder while you work. Position your ladder carefully on level ground, ensuring it extends at least three feet above the gutter line for maximum stability and safe access.
Start at the downspout and work your way systematically along the gutter, removing leaves, twigs, and accumulated debris. Pay close attention to areas where organic material tends to collect, such as near roof valleys, around chimneys, and under tree branches. Use your trowel to scrape out compacted materials, depositing them directly into your bucket. After manually removing solid debris, use your garden hose to flush the gutters, checking for proper water flow and identifying any potential blockages or leaks in the system.
Key verification points for thorough gutter maintenance include:
- Water flowing smoothly through downspouts without pooling
- No visible sagging or separation of gutter sections
- No water streaming down exterior walls during hosing
- Clear downspout exits with no obstruction
Our comprehensive homeowner maintenance guide provides additional insights into protecting your home’s drainage system. If you encounter extensive debris, significant damage, or feel uncomfortable performing this task, consider consulting a professional who can ensure thorough cleaning and identify potential repair needs.
Below is a checklist table to help you verify each step when cleaning and inspecting your gutters and downspouts.
| Verification Step | What to Look For |
|---|---|
| Smooth water flow through downspouts | No pooling or overflow at exits |
| No sagging or separated gutter sections | Gutters securely attached, no gaps |
| Exterior walls remain dry | No water streaming down during hosing |
| Downspout exits are clear | No obstructions or debris blockages |
| Debris removed from difficult areas | Roof valleys, around chimneys, under trees |
| System remains intact after flushing | No leaks or visible damage after hosing |
Step 3: Drain and Flush Your Water Heater
Maintaining your water heater through regular draining and flushing is a crucial seasonal maintenance task that helps prevent sediment buildup, improves system efficiency, and extends the lifespan of your equipment. Sediment accumulation can reduce heating performance, increase energy consumption, and potentially lead to premature system failure.
Preparation is key before beginning the water heater maintenance process. Gather essential tools including a garden hose, work gloves, safety glasses, and a bucket. Turn off the power supply for electric water heaters at the circuit breaker, or shut off the gas supply for gas water heaters. Allow the water to cool for several hours to prevent potential scalding. Safety should always be your primary concern when working with water heating systems.
Carefully connect your garden hose to the drain valve located at the bottom of the water heater tank. Position the other end of the hose in an area that can handle hot water discharge, such as a floor drain, outdoor area, or large bucket. Open the drain valve and allow the tank to empty completely. This process helps remove accumulated sediment and mineral deposits that can compromise your system’s performance. Once the tank is fully drained, briefly open the cold water supply to flush remaining sediment, creating a swirling effect that helps dislodge any stubborn particles.
Critical verification steps after flushing include:
- Clear water running from the drain valve
- No unusual sounds when refilling the tank
- Consistent water temperature after restarting
- No visible leaks around connections
Check out our detailed water heater troubleshooting guide for additional maintenance insights. If you encounter any complications or feel uncomfortable performing this task, consulting a professional plumber can ensure your water heater remains in optimal condition.
Here is a tools and materials table to ensure you are prepared before draining and flushing your water heater.
| Tool/Material | Purpose |
|---|---|
| Garden hose | Attach to drain valve for controlled drainage |
| Work gloves | Protect hands from hot surfaces and residue |
| Safety glasses | Shield eyes from potential splashes |
| Bucket | Collect discharged water if no floor drain |
| Screwdriver | For opening panels or loosening drain valve |
| Towel/rag | Clean up minor spills or drips |
| Circuit breaker/gas shutoff | Safely turn off power to the heater |
Step 4: Evaluate and Insulate Pipes for Temperature Changes
Protecting your home’s plumbing system from temperature fluctuations is a critical aspect of seasonal maintenance that prevents potential pipe damage, reduces energy loss, and minimizes the risk of costly repairs. Temperature changes can cause pipes to expand, contract, and potentially crack, leading to significant water damage and inefficient system performance.
Begin your pipe evaluation by conducting a comprehensive visual inspection of all accessible plumbing throughout your home. Focus on pipes located in unheated areas such as crawl spaces, attics, exterior walls, and basements. Look for signs of existing wear, previous repairs, or potential vulnerability to temperature extremes. Pay special attention to pipes near windows, exterior walls, and areas with minimal insulation, as these locations are most susceptible to temperature variations.
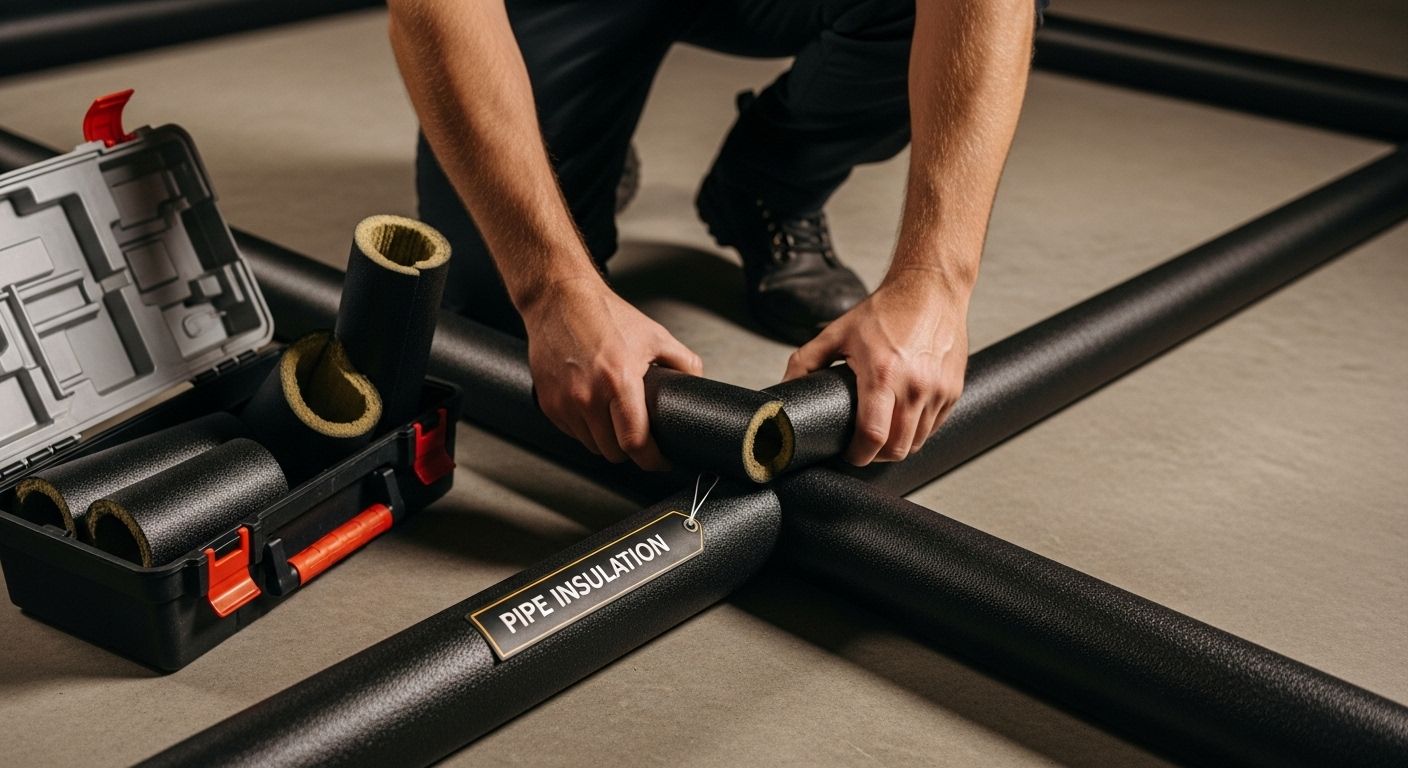
Select appropriate insulation materials based on your specific pipe requirements. Foam pipe sleeves, fiberglass wraps, and heat tape are excellent options for protecting pipes from cold temperatures. When applying insulation, ensure complete coverage without leaving any gaps that could expose pipes to temperature fluctuations. For pipes in extremely cold areas, consider using heat-reflective insulation that provides an extra layer of thermal protection. Carefully wrap pipes, securing insulation with appropriate tape or fasteners, and overlap sections to create a continuous protective barrier.
Key verification points for effective pipe insulation include:
- No exposed pipe sections
- Tight, seamless insulation coverage
- No signs of moisture or condensation
- Consistent insulation thickness around bends and joints
Explore our comprehensive guide to home plumbing systems for additional insights into protecting your residential plumbing infrastructure. If you encounter complex insulation challenges or feel uncertain about the process, consulting a professional plumber can ensure your pipes receive optimal protection against seasonal temperature changes.
Step 5: Test Sump Pumps and Backwater Valves
Protecting your home from potential water damage requires thorough testing and maintenance of sump pumps and backwater valves. These critical components prevent basement flooding and sewage backup, making their seasonal inspection an essential part of home maintenance.
Begin by inspecting the sump pump’s physical condition and surrounding area. Clear the sump pit of any debris, checking for accumulated sediment or potential obstructions that might impede the pump’s performance. Carefully examine the pump’s power cord for any signs of wear or damage, and ensure the electrical connection is secure and free from moisture. Verify that the float mechanism moves freely, as this component triggers the pump’s activation during water accumulation.
To test the sump pump’s functionality, slowly pour a bucket of water into the sump pit, observing the pump’s response. The pump should activate automatically, quickly removing water and shutting off once the water level drops. Listen for any unusual sounds that might indicate mechanical issues. For backwater valves, visually inspect the valve for signs of corrosion or damage, ensuring the mechanical disc moves smoothly and creates a proper seal. These valves are crucial in preventing sewage from backing up into your home during heavy rainfall or municipal sewer system overloads.
Critical verification points for sump pump and backwater valve maintenance include:
- Pump activates and removes water efficiently
- No unusual grinding or scraping sounds
- Valve disc moves freely without obstruction
- No visible corrosion or mechanical damage
- Electrical connections are clean and secure
Explore our comprehensive guide to understanding home drainage systems for additional insights into protecting your home’s plumbing infrastructure. If you encounter any uncertainties or detect potential issues during your inspection, consulting a professional plumber can help prevent costly water damage and ensure your home remains protected.
Below is a checklist table to verify critical points when testing sump pumps and backwater valves.
| Verification Point | What to Confirm |
|---|---|
| Sump pump activates automatically | Response to water in pit without manual help |
| Water is efficiently removed | No standing water remains after activation |
| Pump makes normal operating sounds | No grinding, scraping, or unusual noises |
| Float mechanism moves freely | Triggers pump with smooth motion |
| Backwater valve disc is unobstructed | Moves smoothly; forms proper seal |
| Connections are clean and secure | No visible corrosion, loose wires, or damage |
Step 6: Schedule Professional Inspections for Complex Issues
While homeowner maintenance is crucial, certain plumbing issues require specialized expertise that goes beyond typical DIY capabilities. Professional inspections serve as a critical safeguard, identifying potential problems before they escalate into expensive and disruptive repairs that could compromise your home’s structural integrity and comfort.
Preparing for a professional plumbing inspection involves gathering comprehensive documentation about your home’s plumbing history. Compile records of previous repairs, maintenance logs, and any recurring issues you’ve observed throughout the year. These details provide technicians with valuable context about your specific plumbing system. Focus on identifying areas of consistent concern, such as persistent low water pressure, unusual noises in pipes, recurring clogs, or unexplained water bill increases. These symptoms often indicate underlying problems that require professional diagnostic tools and advanced technical knowledge.
When selecting a professional plumbing service, prioritize licensed and experienced technicians who can conduct thorough diagnostics using advanced equipment like video pipe inspection cameras, thermal imaging, and pressure testing tools. These technologies allow professionals to identify hidden issues within walls, underground pipes, and complex plumbing networks that are invisible to the naked eye. A comprehensive inspection typically involves examining pipe conditions, checking water pressure, assessing potential leak points, evaluating water heater performance, and ensuring all system components function optimally.
Key elements to discuss during a professional inspection include:
- Comprehensive system assessment
- Identification of potential future repair needs
- Recommendations for system upgrades
- Estimated lifespan of current plumbing infrastructure
- Potential energy efficiency improvements
Explore our detailed routine home plumbing care guide for additional insights into maintaining your home’s plumbing system. By investing in professional inspections, you protect your property, prevent unexpected breakdowns, and ensure your plumbing system operates at peak efficiency throughout the year.
Worry-Free Plumbing Starts With Expert Maintenance
You work hard to keep your home safe from plumbing disasters, but hidden leaks, clogged drains, and aging water heaters can quickly threaten your peace of mind. Even with thorough seasonal maintenance, some plumbing problems can remain out of sight until they cause expensive water damage or disrupt your comfort. Homeowners often face stress from spotting mysterious water stains or hearing strange noises in the pipes. You deserve a solution that catches these issues before they turn into emergencies.
Why wait for a small problem to become a major headache? At Legacy Plumbing & Drain Inc, our licensed technicians use advanced tools and years of experience to uncover issues you might miss. Our team offers everything from leak detection and water heater maintenance to expert sump pump checks. We also provide thorough inspections so you can feel confident every season. Visit our homeowner plumbing checklist or routine home plumbing care guide to get ahead of any hidden risks. For emergency plumbing help or ongoing support, connect with us today at our main website. Don’t let your next plumbing surprise put your home at risk. Take action now and enjoy true peace of mind.
Frequently Asked Questions
What are the signs of plumbing leaks in my home?
Look for water stains, unusual discoloration on walls or ceilings, puddles, and unexplained moisture around exposed pipes, particularly at joints and bends.
How can I effectively clean my gutters and downspouts?
Use a sturdy ladder, heavy-duty gloves, a garden trowel, and a hose. Begin at the downspout and remove debris, then flush the gutters with water to ensure proper flow.
What are the benefits of flushing my water heater?
Flushing your water heater removes sediment buildup, improves heating efficiency, and can extend the lifespan of the unit, reducing energy consumption and preventing costly repairs.
How can I protect my pipes from freezing during cold weather?
Inspect and insulate pipes in unheated areas using foam pipe sleeves or fiberglass wraps. Ensure there are no exposed sections and that insulation is tight and secure.