
Reading plumbing diagrams can seem confusing for beginners. But the real surprise is that with the right tools, even complex blueprints become much simpler to understand. In fact, studies show that those who prepare their workspace with just seven basic items are twice as likely to interpret diagrams accurately compared to those who do not. Most new DIYers skip this step entirely and end up lost; but you can start miles ahead just by organizing your desk the right way.
Table of Contents
- Step 1: Gather Necessary Tools And Materials
- Step 2: Identify Symbols And Notations On Diagrams
- Step 3: Analyze The Layout And Pipe Connections
- Step 4: Trace Water Flow And Drainage Systems
- Step 5: Verify Your Understanding With Practical Examples
Quick Summary
| Key Point | Explanation |
|---|---|
| 1. Assemble a comprehensive toolkit | Gather essential tools like rulers, pencils, and tracing paper to support accurate interpretation of plumbing diagrams. |
| 2. Learn standard plumbing symbols | Familiarize yourself with diagram symbols through the legend, noting shapes and line styles for effective decoding. |
| 3. Analyze layout and connections | Trace main supply lines and connection points to understand water flow and identify potential issues in the system. |
| 4. Track water flow and drainage | Follow supply and drainage paths to grasp how water circulates, ensuring you acknowledge both vertical and horizontal routing. |
| 5. Practice with real diagrams | Use multiple plumbing diagrams to compare and confirm your understanding through verbal descriptions and cross-referencing. |
Step 1: Gather necessary tools and materials
Understanding how to read plumbing diagrams starts with preparing the right tools and creating an organized workspace. Before diving into complex schematics, you will need specific equipment that transforms a potentially overwhelming task into a manageable project.
To begin, assemble a comprehensive toolkit that supports accurate diagram interpretation. Your essential collection should include precision measuring tools like a quality architectural ruler or scale ruler that allows you to translate diagram measurements accurately. A digital or standard calculator will help you perform quick mathematical conversions and calculations related to pipe lengths, angles, and connections.
Document preparation is equally critical. Select high-quality, light-colored tracing paper or drafting paper that allows clear overlay and annotation. Mechanical pencils with 0.5mm or 0.7mm lead provide crisp, precise markings without smudging. Colored pencils or highlighters can help distinguish different pipe types, water flow directions, and system components more easily.
Additional recommended materials include a sturdy clipboard to maintain diagram stability, transparent tape for securing documents, and a clean, well-lit workspace that minimizes distractions. According to Brookfield Municipal Plumbing Guidelines, proper documentation and clear workspace preparation are fundamental to accurate diagram analysis.
Equipment checklist for plumbing diagram reading:
- Architectural ruler or scale
- Mechanical pencils
- Colored highlighting markers
- Tracing paper
- Clipboard
- Calculator
- Good lighting
As you gather these materials, remember that organization is key. Arrange your tools systematically before beginning, ensuring everything is within easy reach. This preparation not only streamlines your diagram reading process but also reduces potential errors and increases your confidence in interpreting complex plumbing schematics.
The table below summarizes the essential tools and materials recommended for reading plumbing diagrams effectively, along with their purposes to help you prepare your workspace systematically.
| Tool / Material | Purpose |
|---|---|
| Architectural ruler/scale | Translating diagram measurements accurately |
| Mechanical pencils | Making precise, clean markings |
| Colored highlighting markers | Differentiating pipe types and water flow |
| Tracing paper | Overlaying and annotating diagrams |
| Clipboard | Stabilizing diagrams during analysis |
| Calculator | Performing quick measurement and calculation tasks |
| Good lighting | Ensuring workspace visibility and reducing mistakes |
By investing time in proper tool selection and workspace setup, you transform diagram reading from an intimidating task into a structured, methodical process. Your carefully assembled toolkit becomes your roadmap to understanding intricate plumbing systems with precision and clarity.
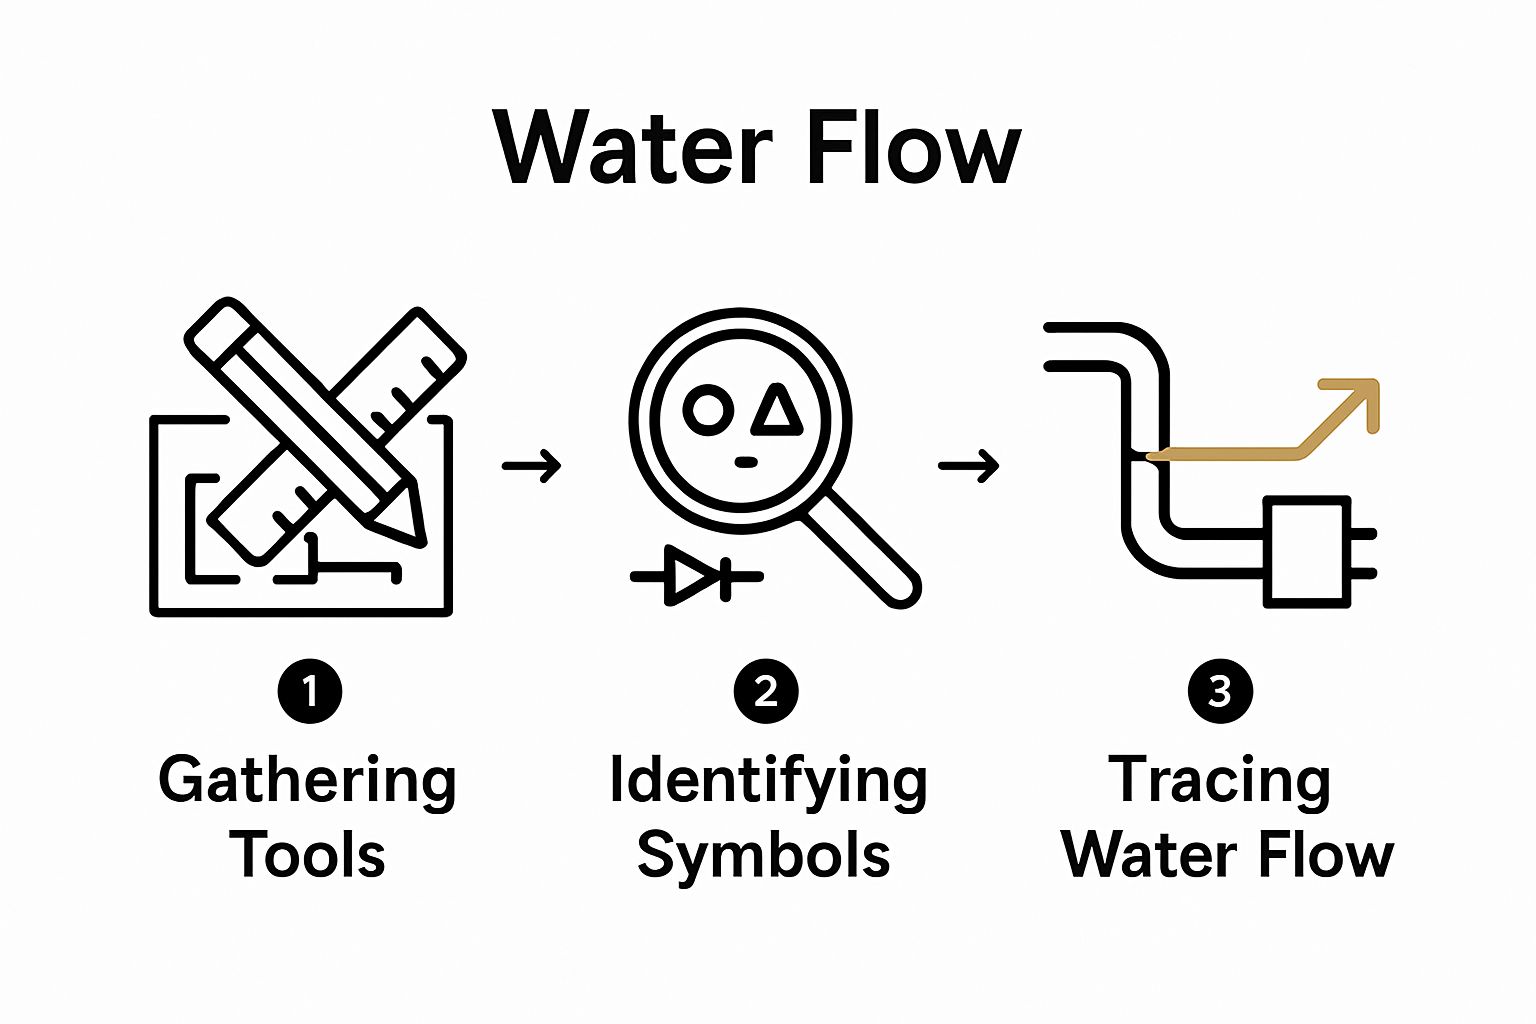
Step 2: Identify symbols and notations on diagrams
Deciphering plumbing diagram symbols represents a critical skill in understanding complex technical drawings. Each symbol carries specific meaning, transforming abstract lines and shapes into a comprehensive representation of water flow, pipe connections, and system components.
Professional plumbing diagrams utilize standardized graphic language that might initially appear cryptic to untrained eyes. Different shapes, colors, and line styles communicate crucial information about pipe materials, water direction, valve types, and connection methods. Learning to read these symbols systematically will help you navigate even the most intricate schematics with confidence.
Begin by examining the diagram’s legend or key, which serves as your essential translation guide. Legends typically appear near the diagram’s edge and provide a comprehensive breakdown of each symbol’s meaning.
Pay close attention to line thickness, arrowheads, and shading, as these subtle variations convey critical information about pipe diameter, water pressure, and flow direction.
Common plumbing symbols include various representations for pipes, valves, fixtures, and connections. Straight horizontal lines often represent standard water supply lines, while zigzag lines might indicate heating elements or specialized conduits. Circular shapes frequently denote valves, with specific internal markings indicating whether they are gate, ball, or check valves. Triangular symbols might represent water heaters or expansion tanks.
According to Plumbing and Mechanical Magazine’s Technical Guidelines, understanding these visual representations requires patience and systematic learning. Practice identifying symbols by comparing multiple diagrams and cross-referencing their meanings.
Symbol interpretation checklist:
- Locate and study the diagram’s legend thoroughly
- Compare symbols across different sections of the diagram
- Note variations in line thickness and style
- Identify pipe material indicators
- Track water flow direction using arrowheads
Develop a visual reference library by photocopying or digitally saving diagrams with clear, well-explained symbols. This personal archive becomes an invaluable learning tool, helping you recognize patterns and build intuitive understanding of plumbing schematic language.
Remember that mastering symbol interpretation is a gradual process. Each diagram you analyze increases your expertise, transforming complex technical drawings from intimidating puzzles into clear, readable blueprints of mechanical systems.
Step 3: Analyze the layout and pipe connections
Analyzing plumbing diagram layouts transforms abstract lines into a comprehensive understanding of water flow, system connectivity, and potential installation challenges. This critical step requires a methodical approach that breaks down complex schematics into manageable, comprehensible sections.
Begin by tracing the primary water supply lines, which typically enter the diagram from a single point and branch out to various fixtures and appliances. These main lines represent the backbone of your plumbing system, carrying water from the municipal source or primary storage tank. Pay careful attention to their routing, noting how they transition through different areas of the building and connect to secondary distribution networks.
Carefully examine the intersection points and connection methods between pipes. Each junction represents a potential point of complexity or potential issue in the plumbing system. Look for various connection types such as tees, elbows, and reducers that modify pipe direction, diameter, or flow characteristics. Understanding these transition points helps you recognize how water moves through the system and identify potential bottlenecks or pressure points.
Color coding and line styles provide additional layers of information about pipe materials and intended function. Solid lines might indicate pressurized water supply lines, while dashed lines could represent drainage or ventilation systems. Create a mental map of how different subsystems interact, tracking water from its entry point through various fixtures and ultimately to drainage outlets.
According to Plumbing Design Manual Guidelines, systematic layout analysis involves understanding both horizontal and vertical pipe routing. Vertical connections represent critical transition points between floors or building levels, requiring special attention to gravity-driven flow and potential drainage challenges.
Layout analysis verification checklist:
- Trace main water supply line from entry point
- Identify all primary and secondary pipe connections
- Note pipe diameter changes
- Mark potential pressure transition zones
- Confirm water flow direction
Develop a spatial understanding of the diagram by mentally walking through the system. Imagine water moving from the main supply through each pipe, around corners, and to various fixtures. This visualization technique helps transform two-dimensional drawings into a three-dimensional understanding of your plumbing infrastructure.
Remember that each diagram tells a unique story of water movement. Your goal is to become a skilled interpreter, reading the silent language of lines, symbols, and connections that define complex plumbing systems.
Step 4: Trace water flow and drainage systems
Tracing water flow and drainage systems requires a systematic approach that transforms complex plumbing diagrams into clear, understandable pathways. This critical step helps you comprehend how water enters, circulates, and exits your home’s plumbing infrastructure.
Start by identifying the primary water supply entry point, typically marked with a distinctive symbol representing the main water line. Follow this line as it branches into separate circuits for cold and hot water distribution. Cold water lines usually originate directly from the municipal supply or main storage tank, while hot water lines connect through water heaters, creating distinct thermal pathways throughout the building.
Carefully track how water moves from supply lines to various fixtures, paying close attention to pipe diameters and connection points. Observe how pipes transition between rooms, noting how they navigate through walls, floors, and structural elements. Each bend, junction, and connection represents a potential point of complexity in water movement. Look for vertical risers that transport water between building levels and horizontal runs that distribute water to individual fixtures like sinks, showers, and appliances.
Drainage systems require equally meticulous examination. Unlike supply lines, drainage pipes rely on gravity and strategic venting to remove wastewater efficiently. Trace these lines from individual fixture drain points, following their path through secondary and primary drainage pipes. Notice how these lines slope downward, creating a natural flow toward the main sewer line or septic system. Vent pipes, typically represented by vertical lines extending upward, play a crucial role in maintaining proper air pressure and preventing siphoning in the drainage network.
According to American Society of Plumbing Engineers, understanding water flow dynamics involves recognizing both horizontal and vertical pipe routing strategies. This comprehensive approach helps predict potential system performance issues and maintenance requirements.
Water flow verification checklist:
- Confirm water supply line entry point
- Track hot and cold water circuit separation
- Identify all fixture connection points
- Verify drainage pipe slope and direction
- Note potential pressure transition zones
For homeowners looking to dive deeper into drainage system complexities, our guide on outdoor drain maintenance provides additional insights into maintaining smooth water flow.
Develop a mental map of your plumbing system by visualizing water’s journey. Imagine water entering your home, branching to various fixtures, and ultimately exiting through carefully designed drainage pathways. This visualization transforms technical diagrams into a dynamic, functional understanding of your home’s hidden hydraulic infrastructure.
The following checklist table organizes the key verification steps for tracing water flow and drainage systems, allowing you to confirm your understanding as you analyze plumbing diagrams.
| Verification Step | What to Check or Confirm |
|---|---|
| Water supply line entry point | Correctly identified on the diagram |
| Hot/cold water circuit separation | Clear branching and thermal pathway distinction |
| Fixture connection points | All supply and drain connections present |
| Drainage pipe slope and direction | Consistent and directed toward main sewer/septic |
| Pressure transition zones | Noted for potential issues |

Step 5: Verify your understanding with practical examples
Transforming theoretical knowledge into practical understanding requires deliberate practice and systematic verification. This crucial step helps solidify your ability to read and interpret plumbing diagrams by applying your newfound skills to real-world scenarios and comparative analysis.
Begin by collecting multiple plumbing diagrams representing different complexity levels and system types. Residential, commercial, and industrial diagrams each offer unique challenges and learning opportunities. Compare these blueprints side by side, looking for similarities in symbol usage, layout strategies, and connection methods. This comparative approach helps you recognize universal design principles while appreciating nuanced variations across different plumbing systems.
Select one diagram and systematically deconstruct its components, verifying your understanding by creating a detailed narrative description. Walk through the entire system verbally, explaining water entry points, flow directions, fixture connections, and drainage pathways. This verbal reconstruction forces you to articulate your comprehension precisely, revealing any gaps in your understanding. Challenge yourself to describe each pipe’s purpose, material, and potential function within the broader system infrastructure.
Practical verification often requires cross-referencing multiple information sources. Consult professional plumbing manuals, building code references, and technical guidelines to validate your diagram interpretations. Look for discrepancies or areas where your initial understanding might need refinement. Embracing a learning mindset means recognizing that diagram reading is a skill developed through continuous practice and humble self-assessment.
According to International Association of Plumbing and Mechanical Officials, developing technical diagram literacy involves persistent exposure and critical analysis of various schematic representations.
Diagram verification checklist:
- Compare multiple plumbing system diagrams
- Create verbal system descriptions
- Identify potential interpretation challenges
- Cross-reference with professional resources
- Test your understanding through hypothetical scenarios
For homeowners seeking additional insights into technical plumbing assessments, our comprehensive plumbing inspection checklist provides excellent supplementary guidance.
Develop a systematic learning approach by maintaining a diagram analysis journal. Record your observations, questions, and insights from each diagram you study. This personal reference becomes an invaluable tool for tracking your skill progression, documenting complex system characteristics, and building a comprehensive understanding of plumbing infrastructure design. Remember that mastery comes through patient, methodical practice and a genuine curiosity about how complex systems interconnect.
Transform Confusing Plumbing Diagrams into Action with Legacy Plumbing & Drain
Struggling to make sense of complex symbols, water flow routes, or pipe connections in your home project? Learning how to read plumbing diagrams empowers you to spot potential problems, but even the most detailed guide cannot replace hands-on, professional support when it counts. When accuracy matters for preventing costly mistakes or water damage, you deserve expert solutions backed by experience.

Bring your project to life and leave uncertainty behind. The skilled team at Legacy Plumbing & Drain Inc can instantly translate your diagram knowledge into safe, reliable installation or repairs. If your diagram raises questions about drainage systems, explore our outdoor drain maintenance tips for actionable insights. For those focused on system safety and inspection, our comprehensive plumbing inspection checklist is designed just for homeowners like you. Don’t wait for uncertainty to cause issues. Visit Legacy Plumbing & Drain Inc now to schedule expert service and turn every diagram into a worry-free project.
Frequently Asked Questions
What tools do I need to read plumbing diagrams effectively?
To read plumbing diagrams effectively, you will need essential tools such as an architectural ruler or scale, mechanical pencils, colored highlighting markers, tracing paper, a clipboard, a calculator, and a well-lit workspace. These tools help you interpret measurements and organize your analysis.
How can I identify symbols on plumbing diagrams?
To identify symbols on plumbing diagrams, start by examining the diagram’s legend or key, which provides definitions for each symbol. Common symbols include lines for pipes, circles for valves, and various shapes that indicate connections. Paying attention to line thickness and arrow styles can also help you understand flow directions and pipe sizes.
What should I focus on when analyzing plumbing layout and pipe connections?
When analyzing plumbing layouts and pipe connections, focus on tracing the main water supply lines, identifying intersection points, and understanding connection methods. Look for types of joints such as tees and elbows, and recognize how these influence water flow and potential pressure issues within the system.
How can I verify my understanding of reading plumbing diagrams?
You can verify your understanding by comparing multiple plumbing diagrams and describing their components out loud. Create a detailed narrative of how the system works, cross-reference your interpretations with professional resources, and practice with real-world examples to solidify your diagram reading skills.
Recommended
- Understanding DIY Or Professional Plumbing Choices – Legacy Plumbing & Drain – Emergency Plumbers Of Sacramento
- Understanding Remodeling Plumbing Considerations For Homeowners – Legacy Plumbing & Drain – Emergency Plumbers Of Sacramento
- 7 Basic Plumbing Tools Homeowners Must Have – Legacy Plumbing & Drain – Emergency Plumbers Of Sacramento
- Plumbing For Home Renovations In 2025: Sacramento & Beyond – Legacy Plumbing & Drain – Emergency Plumbers Of Sacramento
- Understanding Industry Standards in Plumbing – 8th Bend Plumbing Heating and Cooling