
A dripping faucet or unexpected leak can quickly disrupt your routine and drain your wallet, especially for Sacramento homeowners looking to tackle repairs themselves. When you have the right tools, use personal protective equipment, and know how to inspect problem areas, you gain confidence and keep emergency plumbing calls at bay. This guide presents clear steps and helpful tips for completing bathroom plumbing repairs safely and effectively, so you can restore comfort and protect your home while saving money.
Table of Contents
- Step 1: Gather Essential Tools And Safety Gear
- Step 2: Shut Off Water Supply And Assess Bathroom Issues
- Step 3: Repair Leaks And Replace Faulty Fixtures
- Step 4: Test Plumbing Work For Leaks And Function
- Step 5: Restore Area And Maintain Plumbing Health
Quick Summary
| Essential Recommendations | Detailed Insights |
|---|---|
| 1. Gather Necessary Tools and Safety Gear | Collect all required hand tools and personal protective equipment to ensure safety and efficiency during plumbing repairs. |
| 2. Shut Off Water Supply Properly | Locate and turn off the main water valve to prevent flooding, and check faucets to confirm water is fully drained. |
| 3. Inspect and Repair Fixtures Carefully | Thoroughly examine plumbing components for damage and use proper methods to replace faulty parts while ensuring tight connections. |
| 4. Test for Leaks After Repairs | Gradually restore water supply, monitoring fixtures for leaks to ensure all repairs are successful and effective. |
| 5. Maintain Plumbing System Regularly | Implement a maintenance schedule that includes inspections and minor repairs to prolong the life of your plumbing fixtures. |
Step 1: Gather essential tools and safety gear
Before diving into any bathroom plumbing repair, gathering the right tools and safety gear is critical. You want to protect yourself and ensure you have everything needed to complete the job efficiently. Proper tool selection matters for both safety and successful repair work.
Start by collecting basic hand tools including an adjustable wrench, pipe wrench, pliers, screwdriver set (flathead and Phillips head), utility knife, hacksaw, plumber’s tape, and a flashlight. For power tools, you might need a drill with various bits and potentially a reciprocating saw. Always inspect each tool carefully before use checking for any damage or wear that could compromise safety or performance.
Personal protective equipment is non negotiable. Grab safety glasses to protect your eyes from debris, heavy duty work gloves to shield your hands, knee pads for comfort during extended work, and closed toe shoes with good traction. Personal protective equipment prevents workplace injuries and should never be overlooked.
Pro tip: Store your tools in a dedicated toolbox or bag to keep everything organized and easily accessible during your plumbing repair project.
Step 2: Shut off water supply and assess bathroom issues
Before attempting any bathroom plumbing repairs, you must locate and shut off the water supply to prevent potential flooding and water damage. Proper assessment prevents system failures and ensures a safe working environment.
Start by identifying the main water shut off valve typically located in your basement, crawl space, or near the water heater. Turn the valve clockwise completely to stop water flow throughout your home. Next, open bathroom faucets to drain remaining water and confirm the supply is fully shut off. Carefully inspect visible plumbing components like pipes, connections, and fixtures for signs of leaks, corrosion, or damage. Safely shut off water supply lines by checking each connection point and removing any obstacles that might impede your repair work.
Pay close attention to water pressure, pipe condition, and any unusual stains or moisture around fixtures. Take photographs of problem areas to help diagnose the specific issues you will need to address during your repair process.
Pro tip: Keep a bucket and towels nearby to quickly manage any unexpected water drainage during your bathroom plumbing assessment.
Step 3: Repair leaks and replace faulty fixtures
With your water supply shut off, you can now systematically address leaks and replace damaged bathroom fixtures. Identifying and repairing plumbing fixtures requires careful attention to detail and the right approach to prevent future issues.
Begin by examining each fixture closely for signs of wear, corrosion, or damage. For leaky faucets, typically the problem lies in worn out washers or gasket seals that can be relatively simple to replace. Carefully disassemble the fixture using your adjustable wrench and screwdriver, keeping track of each component. Maintenance techniques for plumbing components emphasize the importance of using precise replacement parts that match your existing fixture exactly. When replacing components, apply plumber’s tape to threaded connections to ensure a watertight seal and prevent future leaks.
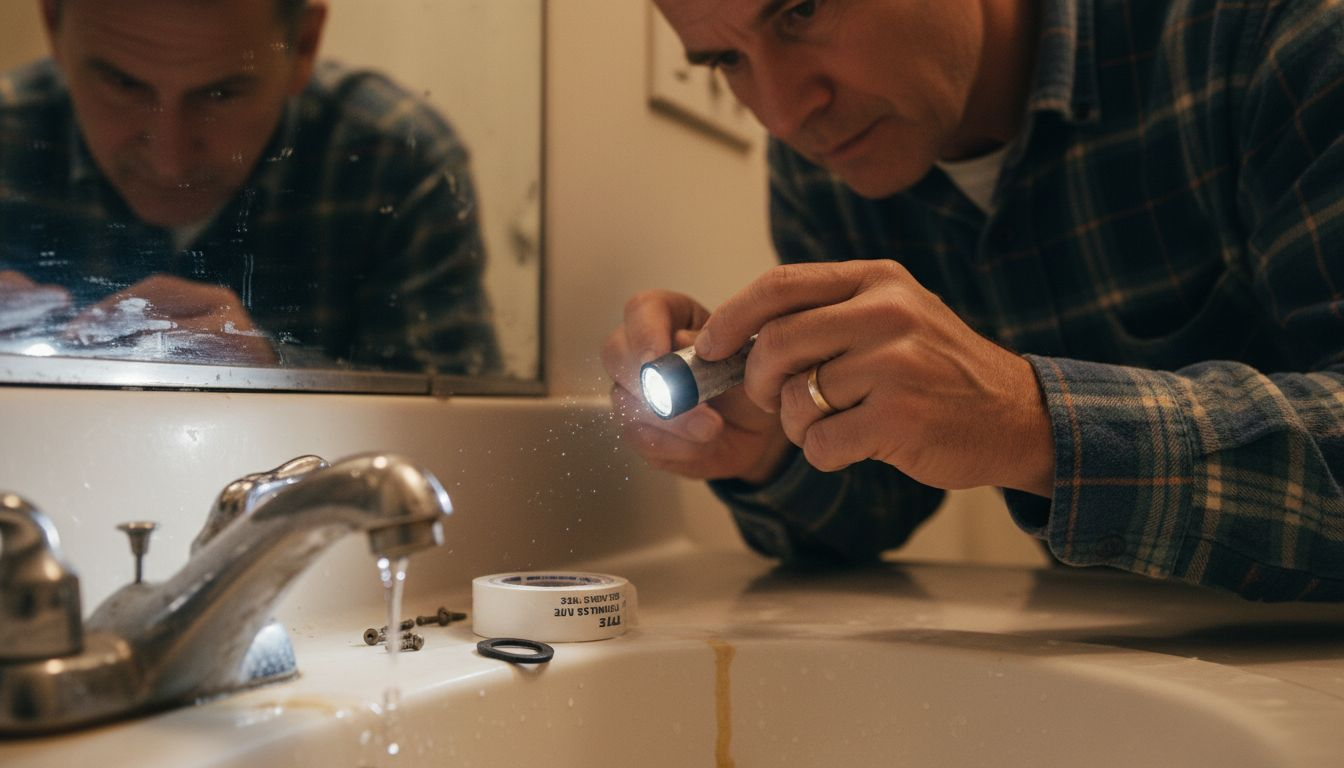
If a fixture is beyond simple repair and requires complete replacement, measure the existing fixture dimensions carefully before purchasing a new one. Ensure compatibility with your existing plumbing setup and water lines. Install the new fixture by following manufacturer instructions, making sure all connections are tight and secure.
Here’s a summary of common bathroom plumbing issues and effective repair approaches:
| Plumbing Issue | Primary Cause | Effective Repair Method |
|---|---|---|
| Leaky faucet | Worn washer or gasket | Replace washer, tighten fittings |
| Low water pressure | Clogged aerator | Clean or replace aerator |
| Pipe corrosion | Aging or mineral buildup | Replace affected pipe section |
| Dripping showerhead | Faulty seal or cartridge | Install new seal or cartridge |
| Running toilet | Malfunctioning flapper | Replace flapper and adjust chain |
Pro tip: Take photographs of your current fixture configuration before disassembly to help you remember exact placement and connection details during reassembly.
Step 4: Test plumbing work for leaks and function
After completing your bathroom plumbing repairs, thorough testing is crucial to ensure everything works correctly and no hidden issues remain. Systematic testing of plumbing repairs helps prevent potential water damage and confirms the integrity of your work.
Begin by slowly turning the main water supply back on and carefully monitoring each repaired fixture. Check for any immediate signs of leakage around connections, pipes, and fixture bases. Run water through each faucet and shower head at different pressures, watching for steady water flow and checking underneath and around each fixture for any moisture. Plumbing code requires comprehensive leak testing to ensure system safety and performance, so take your time during this critical inspection phase.
If you notice any dripping, pooling, or inconsistent water pressure, you may need to tighten connections or reapply plumber’s tape. Allow fixtures to run for several minutes to detect any slow leaks that might not be immediately apparent. Pay special attention to areas you recently repaired or replaced.
Pro tip: Use a dry paper towel around pipe connections to quickly detect even the smallest moisture spots during your leak test.
Step 5: Restore area and maintain plumbing health
After completing your bathroom plumbing repairs, the final step involves thoroughly cleaning the workspace and implementing strategies to ensure long term plumbing system health. Proper post repair restoration techniques are critical for maintaining a functional and sanitary bathroom environment.
Begin by cleaning all work surfaces and surrounding areas. Remove any debris, dust, or construction materials from your repair site. Wipe down fixtures, walls, and floors with appropriate cleaning solutions to eliminate any grime or residue left from your repair work. Bathroom renovation guidelines recommend thorough cleanup to prevent potential moisture buildup and potential future damage. Check for any minor wall or floor damages that might have occurred during your repair process and address them promptly to maintain the overall integrity of your bathroom space.
To maintain long term plumbing health, create a simple maintenance schedule. Regularly inspect your newly repaired fixtures for any signs of wear, check for potential leaks, and keep an eye on water pressure. Consider applying a thin layer of silicone sealant around fixture bases to prevent water seepage and protect against potential future issues.
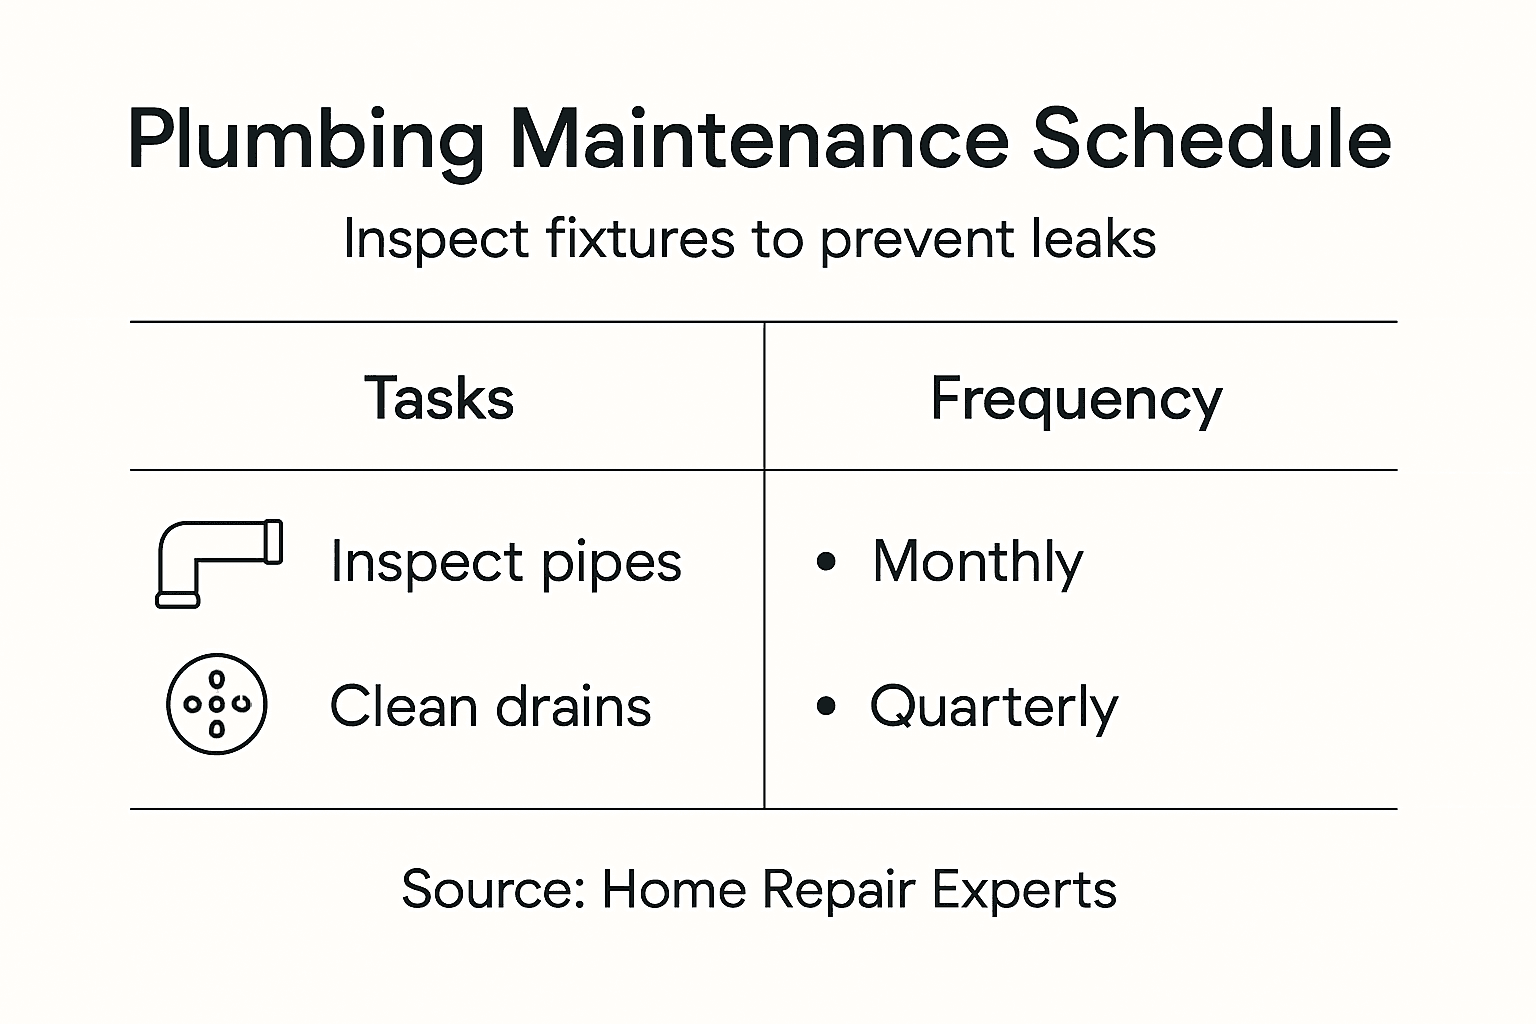
For better ongoing results, compare key maintenance actions and their benefits:
| Maintenance Task | Recommended Frequency | Main Benefit |
|---|---|---|
| Inspect fixtures | Monthly | Identify early signs of leaks |
| Clean aerators/showerheads | Every 3 months | Maintain water flow quality |
| Check water pressure | Every 6 months | Prevent pipe and fixture stress |
| Apply sealant | Annually | Prevent water seepage |
| Document repairs | After each repair | Track maintenance history |
Pro tip: Take photos of your repaired areas and create a small maintenance log to track the date of repairs and any future observations.
Get Expert Help When DIY Bathroom Plumbing Repairs Get Tough
Tackling bathroom plumbing repairs on your own can save time and money but it also brings challenges like identifying hidden leaks, choosing the right replacement parts, and ensuring a leak-free finish. If you find yourself overwhelmed by worn washers, stubborn fixtures, or need precise advice on maintaining your system’s health, you are not alone. At Legacy Plumbing & Drain Inc, we understand the frustration homeowners face when DIY fixes do not go as planned.
Take the worry off your shoulders with trusted help from Sacramento’s premier emergency plumbers. Whether you need hands-on service or guidance on supplies to complete your repairs confidently, we offer expert plumbing, pipe supply, and drainage solutions tailored to your needs. Act now to avoid costly water damage or recurring leaks. Visit Legacy Plumbing & Drain Inc to discover how our skilled technicians and quality bathroom supplies can make your plumbing repairs easier and ensure lasting results. Do not wait — secure your home’s comfort and protect your investment today.
Frequently Asked Questions
What tools do I need for DIY bathroom plumbing repairs?
To effectively handle DIY bathroom plumbing repairs, you’ll need basic hand tools like an adjustable wrench, pliers, and screwdrivers, along with safety gear such as goggles and gloves. Gather all these tools before starting your project to ensure you can work efficiently.
How do I shut off the water supply for bathroom repairs?
Locate the main water shut-off valve in your home and turn it clockwise until it stops. Then, open the bathroom faucets to drain any remaining water and confirm that the supply is completely off before starting your repairs.
What should I do if I find a leak during my plumbing inspection?
If you discover a leak, examine the affected fixture or pipe closely for damage and determine if you can fix it by replacing washers or seals. Document the issue and proceed with the repair by carefully disassembling the fixture and replacing necessary parts.
How can I test my plumbing work after completing repairs?
After finishing repairs, slowly turn the main water supply back on and check each fixture for leaks while running water. Look for any signs of moisture around connections, and if you spot a leak, tighten connections or reapply plumber’s tape as needed.
How can I maintain my bathroom plumbing after repairs?
To maintain your bathroom plumbing, create a simple maintenance schedule that includes regular inspections for leaks and checking water pressure. For example, inspect fixtures monthly and clean aerators every three months to ensure optimal performance and prevent future issues.
What should I do if my fixtures require complete replacement?
If a fixture is too damaged to repair, measure its dimensions carefully to ensure you purchase a compatible replacement. Follow the manufacturer’s installation instructions closely to make sure all connections are secure during reassembly.
Recommended
- Understanding DIY Or Professional Plumbing Choices – Legacy Plumbing & Drain – Emergency Plumbers Of Sacramento
- Understanding Common DIY Plumbing Mistakes For Homeowners – Legacy Plumbing & Drain – Emergency Plumbers Of Sacramento
- 7 Basic Plumbing Tools Homeowners Must Have – Legacy Plumbing & Drain – Emergency Plumbers Of Sacramento
- Top DIY Plumbing Safety Tips For Sacramento Homeowners 2025 – Legacy Plumbing & Drain – Emergency Plumbers Of Sacramento
- Choosing Shutters for Bathrooms: A 2025 Guide for UK Homes | Shutter World
- 7 Expert Bathroom Window Treatment Ideas for Every Home