
Persistent plumbing leaks can turn any Sacramento home into a costly headache. Many homeowners discover puddles, musty smells, or rising water bills before realizing they have a hidden leak. Tackling these problems early matters because even a single dripping faucet can waste over 3,000 gallons each year, as highlighted by the EPA. This guide shares how to gather the right tools, protect yourself, and effectively track down leaks so you can safeguard your home and budget.
Table of Contents
- Step 1: Gather Essential Tools And Safety Gear
- Step 2: Inspect Common Leak-Prone Areas
- Step 3: Test Fixtures And Appliances For Leaks
- Step 4: Trace Moisture And Water Stains
- Step 5: Verify Repairs And Monitor For Reoccurrence
Quick Summary
| Key Takeaway | Explanation |
|---|---|
| 1. Gather essential tools for leak detection | Equip yourself with a flashlight, screwdriver, gloves, and safety gear to effectively inspect your plumbing. |
| 2. Inspect common leak-prone areas first | Focus on toilets, faucets, and pipes to identify visible leaks or water damage indicators efficiently. |
| 3. Conduct specific tests on fixtures | Use methods like the food coloring test for toilets and paper towels for faucets to reveal hidden leaks. |
| 4. Trace moisture and water stains carefully | Look for water stains on ceilings and walls, as they can lead you to hidden leak sources needing attention. |
| 5. Verify repairs and monitor regularly | After repairs, use water meter tests and bill monitoring to ensure leaks are resolved and prevent future waste. |
Step 1: Gather Essential Tools and Safety Gear
Before launching into leak detection, you’ll need a strategic set of tools and protective equipment. Proper preparation prevents potential problems and ensures a safe, efficient investigation of your home’s plumbing system.
The EPA recommends gathering several key items to make your leak detection process smooth and safe:
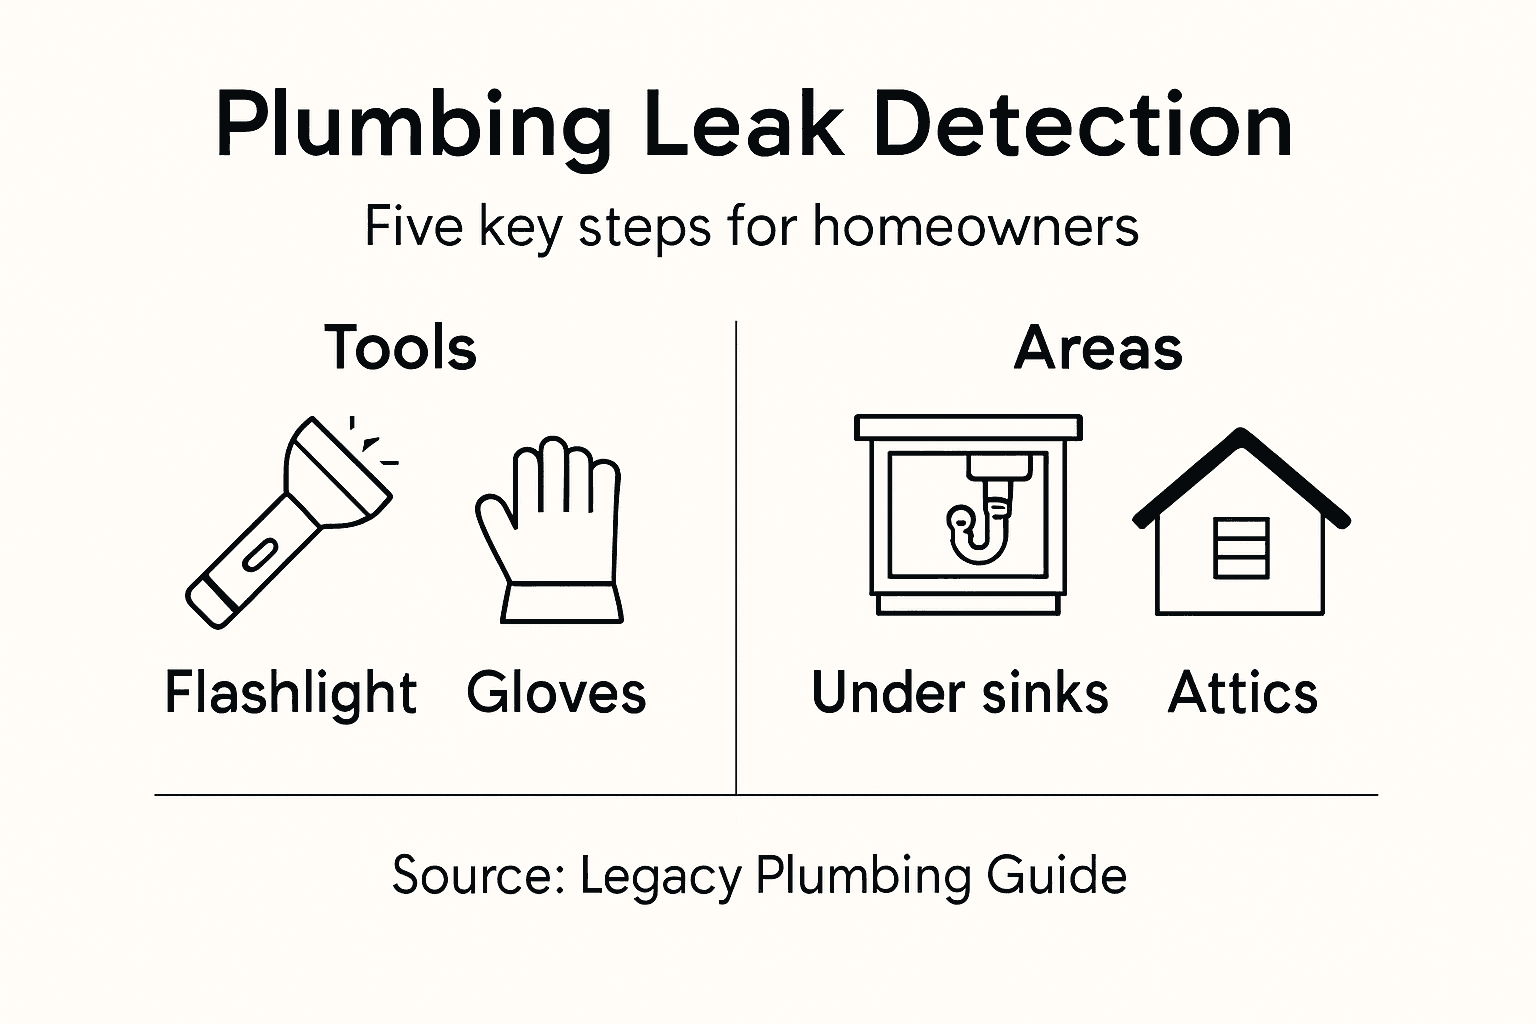
- Flashlight: For illuminating dark spaces under sinks, behind appliances, and in tight corners
- Screwdriver set: To remove access panels and inspect potential leak areas
- Work gloves: Protect your hands from sharp edges and potential contaminants
- Safety glasses: Shield your eyes during inspections
- Notepad and pen: Document any observations about potential leak locations
Additionally, you’ll want some specific leak detection materials like food coloring for toilet leak tests and paper towels to help identify moisture. A moisture meter can also be incredibly helpful for detecting hidden water damage.
Remember: Safety comes first. Never hesitate to stop and call a professional if a repair seems beyond your skill level.
Pro tip: Keep all your leak detection tools in a dedicated waterproof container or toolbox for quick and organized access during home maintenance checks.
Step 2: Inspect Common Leak-Prone Areas
Now that you’re equipped with tools and safety gear, it’s time to strategically investigate the most common areas where plumbing leaks tend to develop. Your systematic approach can save you thousands in potential water damage repairs.
According to the National Association of Certified Home Inspectors, most leaks start at pipe joints, valve connections, and critical fixture points. Here are the key areas you’ll want to carefully examine:
- Toilets: Listen for running water sounds and check for silent leaks
- Faucets: Inspect handles, spouts, and base connections
- Showerheads: Look for drips and moisture around mounting areas
- Under-sink cabinets: Check pipe connections and look for water stains
- Water heater: Examine base and connection points for any moisture
- Washing machine: Inspect supply lines and drain hose connections
When examining these areas, look for telltale signs like water stains, puddles, musty odors, or subtle discoloration. Pay special attention to pipe joints and areas where different materials connect.
Here’s a quick reference for typical leak signs and how to interpret them:
| Symptom | Potential Cause | Recommended Action |
|---|---|---|
| Musty odor | Hidden moisture buildup | Check for concealed leaks |
| Discolored paint | Water damage | Inspect adjacent pipes or fixtures |
| Warped flooring | Prolonged leak nearby | Remove flooring, investigate source |
| Increased water bill | Possible plumbing leak | Perform meter test and inspect system |
| Bubbling grout | Moisture seepage | Examine shower/tile joints for leaks |
Small leaks can waste significant water and cause extensive damage if left unchecked. A single dripping faucet can waste over 3,000 gallons per year.
Pro tip: Use a bright flashlight and white paper towels to help detect even the smallest moisture traces during your inspection.
Use this summary table to track common leak-prone areas and best inspection tools:
| Area | Inspection Tool | Likely Issue |
|---|---|---|
| Under sinks | Flashlight, gloves | Loose pipe connection |
| Toilet base | Paper towels | Hidden tank leak |
| Washer supply lines | Moisture meter | Hose cracks or corrosion |
| Water heater | Infrared camera | Slow drips or condensation |
Step 3: Test Fixtures and Appliances for Leaks
With your initial inspection complete, it’s time to perform targeted tests that can reveal hidden leaks in your home’s critical plumbing fixtures and appliances. These systematic checks will help you catch water waste and potential damage before they become costly problems.
The EPA recommends specific testing methods to detect leaks in various household fixtures:
-
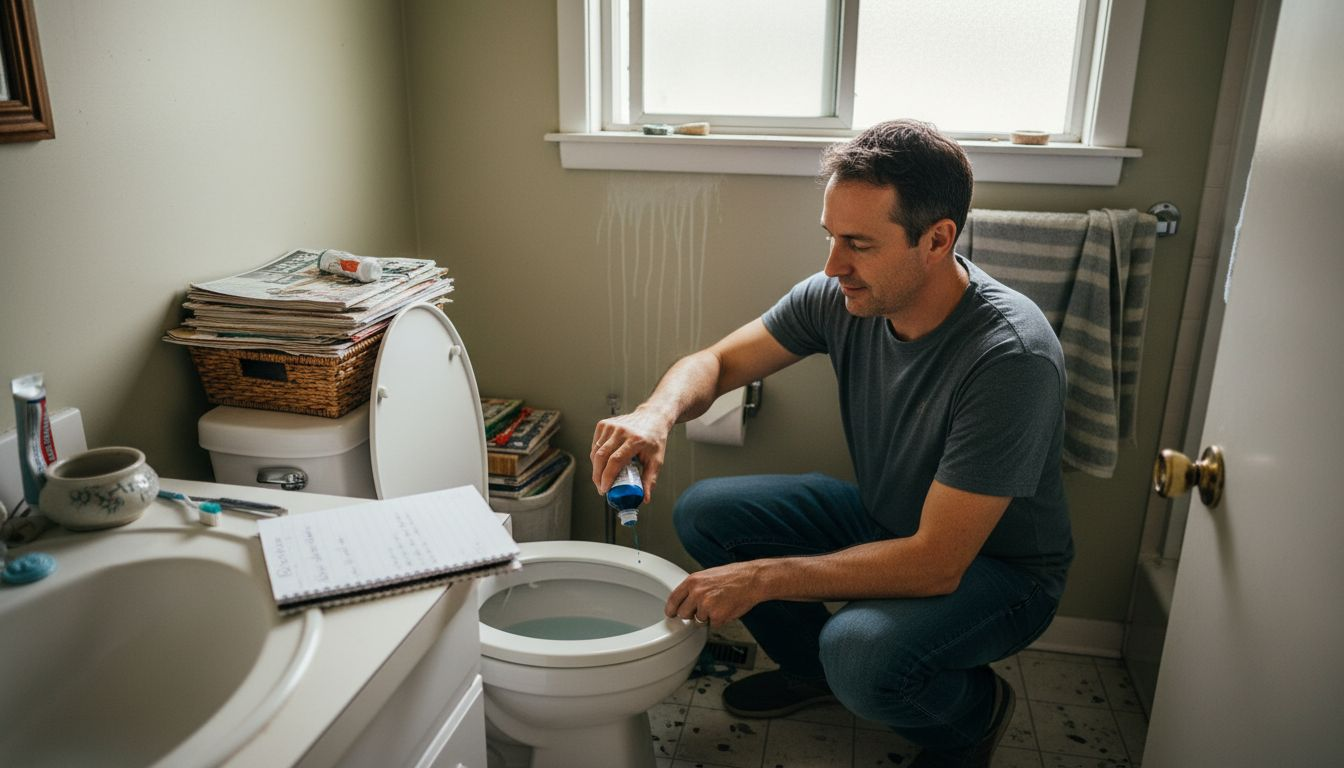
Toilets: Perform the food coloring test
- Remove tank lid
- Add 10-15 drops of food coloring to the tank
- Wait 15-20 minutes without flushing
- Check bowl for color migration (indicates a leak)
-
Faucets: Inspect for visible drips and water movement
- Dry the fixture completely
- Place white paper towels underneath
- Check for moisture or staining after 30 minutes
-
Appliance Supply Lines: Examine washing machine and dishwasher connections
- Look for corrosion or moisture around connections
- Check hoses for cracks or soft spots
- Ensure connections are tight and secure
Even small, undetected leaks can waste over 10,000 gallons of water annually, significantly impacting your utility bills.
Pro tip: Perform these tests during a time when water usage will be minimal to get the most accurate leak detection results.
Step 4: Trace Moisture and Water Stains
Detecting hidden leaks requires a keen eye for subtle signs of water damage that might otherwise go unnoticed. Your goal is to become a moisture detective, tracking down potential leak sources before they escalate into major home repairs.
Professional home inspectors use strategic moisture detection techniques to uncover hidden water intrusion. Look for these critical warning signs:
-
Water Stains: Investigate discoloration on
- Ceiling surfaces
- Wall intersections
- Floor edges near plumbing fixtures
- Areas beneath sinks and appliances
-
Texture Changes: Watch for
- Bubbling or peeling paint
- Warped wooden surfaces
- Soft or spongy drywall
- Discolored grout or caulking
-
Moisture Detection Tools:
- Use moisture meter for precise readings
- Employ infrared camera to identify hidden dampness
- Check with white paper towels in suspected areas
Water stains are like breadcrumbs leading you directly to the source of a potential leak. Follow them carefully.
Pro tip: Take photos of each water stain or moisture spot to track changes and provide documentation for potential professional repair.
Step 5: Verify Repairs and Monitor for Reoccurrence
You’ve located and repaired potential leaks, but your work isn’t complete. The final crucial stage involves confirming your repairs and establishing a long-term monitoring strategy to prevent future water waste and potential damage.
Home water experts recommend systematic verification methods to ensure your repairs are truly effective:
-
Water Meter Test:
- Ensure all water fixtures are completely off
- Record current water meter reading
- Wait 30-60 minutes without using any water
- Check if meter reading has changed
-
Bill Monitoring Techniques:
- Compare current water bill to previous months
- Look for unexpected consumption spikes
- Track quarterly water usage trends
- Calculate average monthly water consumption
-
Physical Inspection Checklist:
- Revisit previously problematic areas
- Check for new moisture signs
- Inspect repaired fixtures monthly
- Look for subtle texture changes or discoloration
Consistent monitoring is your best defense against recurring plumbing leaks and unexpected water damage.
Pro tip: Create a digital spreadsheet to log all leak repairs, including date, location, and repair method, which will help you track long-term plumbing health.
Take Control of Plumbing Leaks with Expert Help from Legacy Plumbing & Drain Inc
Detecting plumbing leaks early can save you from costly water damage and skyrocketing bills. If you find yourself overwhelmed by hidden moisture, mysterious stains, or persistent drips discussed in the guide, don’t wait for the problem to grow. At Legacy Plumbing & Drain Inc, our experienced team specializes in fast and reliable leak detection and repairs tailored to your home’s needs.

Secure your home today with professional plumbing services designed to stop leaks before they cause damage. Whether you need emergency repairs, routine maintenance, or expert advice, visit Legacy Plumbing & Drain Inc now. Trust Sacramento’s premier plumbing partner to restore comfort and protect your investment with dependable solutions.
Frequently Asked Questions
How can I find plumbing leaks in my home?
To find plumbing leaks in your home, start by gathering essential tools such as a flashlight, screwdriver set, and moisture meter. Inspect common leak-prone areas, including toilets, faucets, and under-sink cabinets, looking for signs like water stains or discoloration.
What are the signs of a plumbing leak I should look for?
Signs of a plumbing leak include water stains on ceilings or walls, musty odors, and increased water bills. Keep an eye on areas around fixtures and appliances for these indicators to catch potential leaks early.
How do I perform a toilet leak test?
To perform a toilet leak test, add 10-15 drops of food coloring to the toilet tank and wait 15-20 minutes without flushing. If the color appears in the bowl, it indicates a leak that needs repair.
What steps should I take after finding a leak?
After finding a leak, document the location and symptoms, and proceed to make necessary repairs such as tightening connections or replacing damaged components. Monitor the area closely for any new moisture signs over the following weeks.
How can I verify that my plumbing repairs were successful?
To verify that your plumbing repairs were successful, conduct a water meter test by checking the meter reading before and after a short period of no water use. A stable reading indicates that your repairs have resolved the leak, while any changes suggest further investigation is needed.
What tools do I need for effective leak detection?
For effective leak detection, you will need a flashlight, screwdriver set, work gloves, safety glasses, and a moisture meter. Equip yourself with these items to ensure a thorough inspection of your plumbing system.
Recommended
- Water Leak Detection In Sacramento: Expert Guide For Homeowners | Legacy Plumbing & Drain
- Emergency Plumbing Tips For Sacramento Homeowners | Legacy Plumbing & Drain
- How To Find Pipe Leaks: A Step-by-Step Guide – Legacy Plumbing & Drain – Emergency Plumbers Of Sacramento
- Leak Detection – Preventing Water Damage Fast – Legacy Plumbing & Drain – Emergency Plumbers Of Sacramento
- Should I be concerned about my gurgling kitchen sink? – Saniservice AC Cleaning
- How To Patch Pool Plaster: Step-by-Step Guide For Homeowners
- What Is Water Damage Restoration? Complete Overview – Nu-England Services