
Did you know that frozen pipes can cause thousands of dollars in water damage within hours? As winter edges closer, your home’s plumbing faces real risks from plunging temperatures. Protecting pipes and outdoor fixtures before the freeze can mean the difference between peace of mind and costly repairs. Simple actions now help you avoid burst pipes and frustrating water emergencies when the cold sets in.
Quick Summary
| Key Point | Explanation |
|---|---|
| 1. Protect outdoor faucets | Use foam covers to insulate exterior faucets from freezing and detach garden hoses to prevent water damage. |
| 2. Insulate exposed pipes | Cover all exposed pipes in unheated areas with foam sleeves or heat tape to prevent freezing and potential ruptures. |
| 3. Drain outdoor water sources | Shut off and drain water from outdoor spigots to ensure they don’t freeze, causing pipes to burst. |
| 4. Seal gaps and cracks | Use weatherproof caulk to seal any gaps around pipes entering your home, preventing cold air from lowering pipe temperatures. |
| 5. Test your plumbing system | Conduct checks for leaks and know your emergency shut-off valve location to respond quickly to any plumbing issues. |
Table of Contents
- Step 1: Inspect Vulnerable Pipes And Outdoor Fixtures
- Step 2: Insulate Exposed Plumbing And Seal Gaps
- Step 3: Drain And Shut Off Outdoor Water Sources
- Step 4: Install Protective Devices For Extreme Cold
- Step 5: Test System Integrity Before Cold Weather Hits
Step 1: Inspect Vulnerable Pipes and Outdoor Fixtures
Preparing your home’s plumbing for winter requires strategic inspection of vulnerable pipes and outdoor fixtures before freezing temperatures hit. By taking proactive steps now, you can prevent costly water damage and potential pipe bursts.
Start by identifying the most vulnerable areas in your home. According to the Regional Water Providers Consortium, this includes exterior faucets, unheated spaces like attics, crawl spaces, and basements. Walk around your property and look for pipes exposed to cold air or located near exterior walls.
Your primary goal is locating outdoor faucets and hose bibs that need protection. The City of Portland recommends using insulating covers for these fixtures to prevent freezing. Carefully detach and drain all garden hoses, then cover exterior faucets with foam insulation caps that create a protective barrier against cold temperatures.
For indoor pipes in unheated areas, inspect carefully and plan to insulate. Purchase foam pipe sleeves or wrapping from your local hardware store. Pay special attention to pipes in attics, basements, and crawl spaces where temperatures can drop dramatically.
Pro Tip: Know your home’s emergency water shut-off valve location before winter hits. This could save you from significant water damage if a pipe unexpectedly bursts.
Finally, check for any small gaps or cracks around pipes entering your building. Use weatherproof caulk to seal these potential entry points for cold air, which can rapidly lower pipe temperatures.
With these steps completed, you’re well on your way to protecting your home’s plumbing system from winter’s harsh conditions. Read more about comprehensive pipe inspections to ensure complete winter readiness.
Here’s a comparison of inspection and protection methods for vulnerable pipes and fixtures:
| Area/Fixture | Common Risks | Recommended Protection |
|---|---|---|
| Exterior Faucets | Freeze & burst | Foam covers Detach hoses |
| Exposed Outdoor Pipes | Cracking | Insulate with foam sleeves |
| Attics/Crawl Spaces | Low temperature | Pipe insulation Seal gaps |
| Basements | Freezing | Pipe wrap Check for leaks |
| Pipe Entry Points | Cold air entry | Weatherproof caulk |
Step 2: Insulate Exposed Plumbing and Seal Gaps
Protecting your plumbing from winter’s harsh temperatures means taking proactive steps to insulate exposed pipes and eliminate potential cold air entry points.
 This crucial process will help prevent costly pipe damage and potential water system failures.
According to Best Plumbers’ fall checklist, your primary focus should be unheated spaces like basements, garages, and crawl spaces where pipes are most vulnerable to freezing. Start by thoroughly inspecting these areas and identifying all exposed pipe sections.
For effective insulation, select foam pipe sleeves or heat tape from your local hardware store. Angi recommends carefully covering all pipe joints and bends to create a complete thermal barrier. Make sure to measure your pipes accurately before purchasing insulation materials to ensure full coverage.
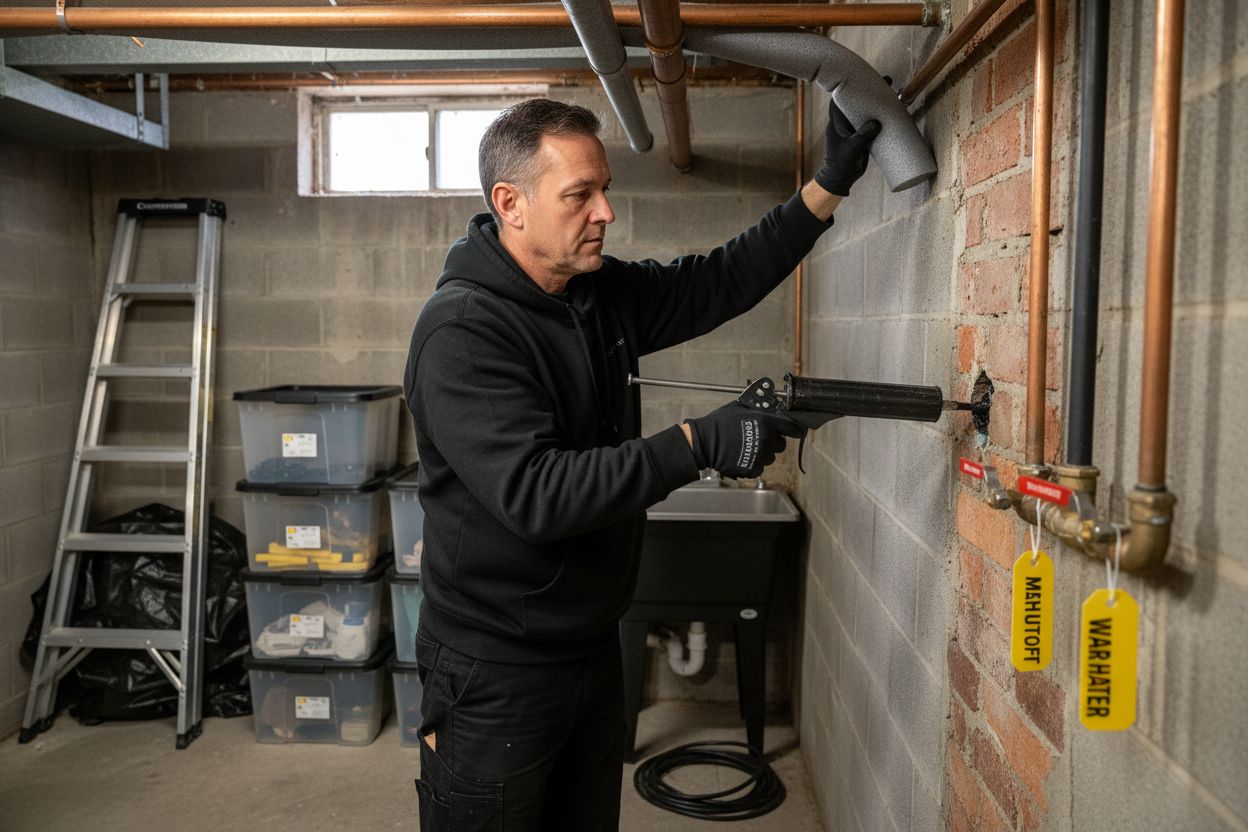
Sealing potential cold air entry points is equally important. Carefully examine areas where pipes enter your home through walls or foundations. Use weatherproof caulk or expanding foam to fill small gaps and prevent cold air from reaching your pipes. Pay special attention to crawl space vents and foundation openings.
Pro Tip: Invest in high-quality insulation materials. Cheap solutions might save money upfront but could cost you significantly more in potential pipe repair expenses.
Read our comprehensive guide on preventing pipe bursts to ensure you’ve covered all your winter plumbing protection bases. By taking these steps, you’ll significantly reduce the risk of frozen or burst pipes during the coldest months.
Step 3: Drain and Shut Off Outdoor Water Sources
When winter approaches, disconnecting and draining outdoor water sources is a critical step in protecting your home’s plumbing system from potential freeze damage. This process helps prevent costly pipe repairs and potential water damage during cold months.
SharkBite recommends a systematic approach to winterizing outdoor water fixtures. Start by locating the shut-off valve for each exterior water source. These valves are typically found in basements, crawl spaces, or near your home’s main water line. Turn these valves completely off to stop water flow to outdoor spigots and connections.
After shutting off the main valve, head outside and open each exterior spigot. This allows any remaining water to drain completely, preventing water from sitting and potentially freezing inside the pipes. Make sure to disconnect and drain all garden hoses, storing them in a warm dry location to prevent cracking.
For homes with irrigation systems, take extra precautions. Blow out underground sprinkler lines using compressed air to remove any trapped water. If you are not comfortable doing this yourself, consider hiring a professional to ensure complete drainage and prevent potential underground pipe damage.
Pro Tip: Label your shut-off valves clearly. In an emergency, knowing exactly which valve controls which area can save you precious time and prevent extensive water damage.
Read more about outdoor plumbing maintenance to keep your home’s water system protected throughout the winter season. By taking these preventative steps, you will safeguard your plumbing and avoid potentially expensive repairs.
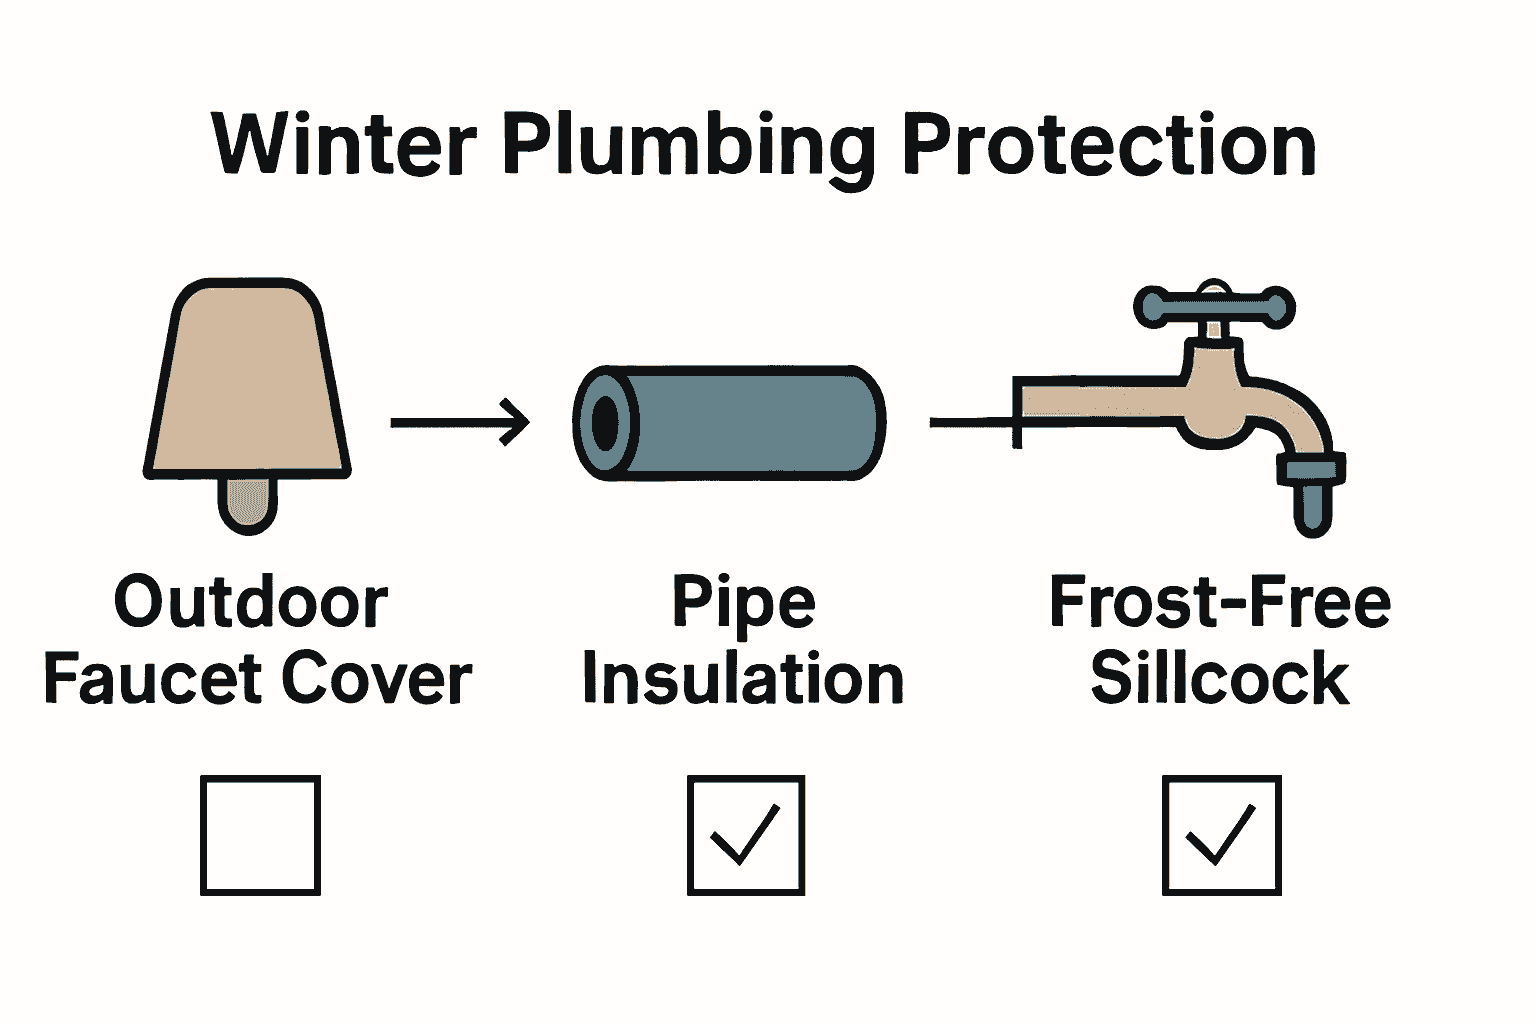
Step 4: Install Protective Devices for Extreme Cold
When winter temperatures plummet, your outdoor plumbing needs specialized protection beyond basic insulation. Installing advanced protective devices can be your last line of defense against potentially catastrophic pipe freezing and damage.
SharkBite recommends upgrading to frost-free sillcocks as a strategic solution. These innovative hose bibs are designed with the shut-off valve located inside your home’s warmer interior, which allows the external portion to automatically drain and resist freezing. Unlike traditional outdoor faucets, these models provide an integrated backflow prevention mechanism.
Benjamin Franklin Plumbing suggests replacing older outdoor faucets with these frost-proof models. When selecting new fixtures, look for options that extend further into your home’s interior, minimizing exposure to cold temperatures. Pair these upgraded hose bibs with high-quality insulated covers for additional protection during extreme cold snaps.
Beyond faucet upgrades, consider investing in heat tape or thermal pipe wraps for any exposed plumbing in unheated areas. These electrical heating elements can provide consistent warmth and prevent freezing in vulnerable sections of your water system.
Pro Tip: Always purchase protective devices rated for your specific climate zone. Not all frost-proof equipment performs equally in different temperature ranges.
Read our comprehensive guide on preventing winter plumbing damage to ensure you have all the necessary protections in place. By taking these proactive steps, you can significantly reduce the risk of costly winter plumbing emergencies.
Step 5: Test System Integrity Before Cold Weather Hits
Before winter arrives, conducting a thorough system integrity check can save you from potential plumbing disasters. Think of this as your home’s plumbing physical examination—identifying potential weaknesses before they become critical problems.
The City of Portland recommends practicing your emergency water shut-off process as a critical first step. Locate your main water shut-off valve and ensure every household member knows its exact location and how to operate it quickly. This preparation can make a significant difference if a pipe unexpectedly bursts during freezing temperatures.
A comprehensive system test involves carefully examining all accessible pipes for existing small leaks or potential weak points. While professional plumbers can conduct advanced diagnostics, homeowners can perform basic visual inspections. Look for minor cracks, rust spots, or areas of moisture around pipe connections that might indicate developing issues.
Although complex, a basic hydrostatic test can help identify potential system vulnerabilities. This involves carefully pressurizing your plumbing system to detect hidden leaks. For most homeowners, consulting a professional plumber to perform this test is recommended to ensure accurate results and prevent accidental damage.
Pro Tip: Document the location of all your plumbing shut-off valves and create an emergency contact list with your local plumber’s number prominently displayed.
Read more about maintaining your seasonal plumbing system to ensure comprehensive winter preparedness. By taking these proactive steps, you will significantly reduce your risk of unexpected plumbing emergencies.
Safeguard Your Home From Winter Plumbing Emergencies
Protecting your pipes from winter’s chill can feel overwhelming. This article highlighted the risks of frozen and burst pipes, the urgency of thorough inspections, and the need to act before freezing temperatures cause damage. Many homeowners worry about costly repairs and the stress of emergency water shut-offs at the worst possible moment. Legacy Plumbing & Drain Inc understands these challenges. Our dedicated team provides rapid help for outdoor faucet protection, comprehensive insulation, and full plumbing system checks so you can rest easy as the temperature drops.
Do not let a preventable freeze disrupt your winter. Partner with the trusted experts at Legacy Plumbing & Drain Inc for a careful assessment of your home’s vulnerabilities and personalized winterization solutions. Visit our Seasonal Plumbing Checklist for proactive steps or learn how to prevent pipe bursts. Contact us today for 24/7 support and keep your home safe all season long.
Frequently Asked Questions
How can I find vulnerable pipes and fixtures before winter?
Identifying vulnerable pipes and fixtures involves inspecting exterior faucets, unheated areas like attics and basements, and pipes close to exterior walls. Walk around your property and look for any exposed plumbing that could be at risk of freezing.
What steps should I take to insulate exposed plumbing for winter?
To insulate exposed plumbing, purchase foam pipe sleeves or heat tape and carefully cover all exposed sections of pipe, especially those in unheated spaces. Make sure to measure the length of your pipes for proper coverage and seal any gaps where cold air can enter.
How do I properly drain outdoor water sources for winter?
To drain outdoor water sources, locate the shut-off valve for each exterior faucet and turn it off. Open all outdoor spigots to let remaining water drain completely, and disconnect and store garden hoses in a warm location to avoid cracking.
What type of protective devices should I install for extreme cold?
Consider installing frost-free sillcocks, which are designed to drain automatically and resist freezing. Additionally, use heat tape or thermal pipe wraps for extra protection on vulnerable plumbing sections to ensure they stay warm during extreme temperatures.
How can I test my plumbing system’s integrity before winter?
To test your plumbing system’s integrity, inspect all accessible pipes for leaks or weak points and practice locating your emergency water shut-off valve. Conduct this check at least a couple of weeks before cold weather to identify and address any issues immediately.
What should I do if I discover a potential plumbing issue during my inspection?
If you find a leak or crack during your inspection, take immediate action to repair or replace the affected pipes. Consider consulting a professional plumber to conduct more thorough diagnostics and ensure your system is ready for winter.
Recommended
- 7 Essential Tips For Your Seasonal Plumbing Checklist 2025 – Legacy Plumbing & Drain – Emergency Plumbers Of Sacramento
- How To Prevent Plumbing Leaks During Winter | Essential Tips
- Emergency Plumbing Tips For Sacramento Homeowners | Legacy Plumbing & Drain
- How To Prevent Pipe Bursts: Essential Tips For Homeowners – Legacy Plumbing & Drain – Emergency Plumbers Of Sacramento