
A burst pipe in your Sacramento home can send water rushing in every direction, turning a regular day into a stressful emergency. In moments like these, stopping the water flow is vital for limiting property damage and costly repairs. Shutting off your main water supply immediately is the first and most effective step to protect your home from further destruction, with experts emphasizing the importance of knowing your shutoff valve location. This guide leads you through proven actions to minimize risk and regain control before damage spreads.
Table of Contents
- Step 1: Shut Off Water Supply Immediately
- Step 2: Drain Remaining Water Safely
- Step 3: Locate and Inspect the Burst Area
- Step 4: Apply a Temporary Pipe Repair
- Step 5: Restore Water and Check for Leaks
Quick Summary
| Key Point | Explanation |
|---|---|
| 1. Shut Off Water Supply ASAP | Immediately locate and turn off your main water shutoff valve to minimize damage to your home. |
| 2. Drain Remaining Water Thoroughly | Open faucets and flush toilets to drain remaining water, reducing the risk of leaks and mold. |
| 3. Inspect the Burst Area Carefully | Look for water stains, puddles, and odors to identify the burst pipe and assess damage. |
| 4. Apply a Temporary Repair | Use repair clamps, tape, or putty to seal the pipe temporarily, preventing further leaks. |
| 5. Restore Water and Check for Leaks | Gradually turn the water supply back on and thoroughly check for any leaks in the repaired area. |
Step 1: Shut Off Water Supply Immediately
When a burst pipe strikes, your first and most critical action is stopping water flow immediately. This prevents extensive damage and limits potential destruction to your Sacramento home. Locating the main water shutoff valve requires quick thinking and preparation.
Most homes have a main water shutoff valve located in several potential areas:
- Near the perimeter of your home’s foundation
- In the basement or crawl space
- Close to the water heater
- Inside the garage
- On an exterior wall
To shut off the water supply, you’ll want to follow these precise steps:
- Move quickly and calmly to the main shutoff valve
- Turn the valve clockwise completely (a quarter to half turn is usually sufficient)
- Verify water flow has stopped by checking nearby faucets
Knowing exactly where your main water shutoff valve is located can save you critical minutes during a plumbing emergency.
After stopping water flow, assess the damaged area and prepare for potential cleanup. Water can spread rapidly, so acting swiftly is key to minimizing potential structural damage.
Pro Tip: Create a laminated map of your home’s water shutoff valve location and share it with all household members to ensure everyone knows where to find it quickly.
Step 2: Drain Remaining Water Safely
After shutting off your main water supply, the next crucial step is draining the remaining water from your pipes to prevent further damage. Understanding the drainage system is key to preventing potential water leaks and structural issues.
To effectively drain your home’s plumbing system, follow these strategic steps:
- Open all cold water faucets throughout your home
- Start with the highest level of your house and work downward
- Focus on kitchen, bathroom, and laundry room fixtures
- Flush toilets to remove water from tank and bowl
- Run outdoor spigots and garden hoses to release additional water
Specifically target these key drainage points:
- Ground floor sinks
- Basement or lowest level fixtures
- Exterior water outlets
Releasing water pressure gradually helps minimize potential pipe stress and prevents additional water damage.
By systematically draining your pipes, you reduce the risk of water pooling and potential mold growth in hidden areas. Be thorough and patient during this process to ensure complete water removal.
Pro Tip: Consider using towels or buckets underneath fixtures to catch any residual water and protect your flooring from potential moisture damage.
Step 3: Locate and Inspect the Burst Area
After draining the water, your next critical task is pinpointing and carefully examining the exact location of the pipe burst. Pipeline safety protocols recommend a systematic approach to identifying water damage and potential structural risks.
Look for these telltale signs of a burst pipe:
- Water stains on walls or ceilings
- Unexplained puddles or wet spots on floors
- Bulging or discolored wall surfaces
- Musty odors indicating hidden moisture
- Active water dripping or trickling
Inspect your pipe burst using these detailed steps:
- Check areas near water pipes
- Use bright flashlight to examine dark spaces
- Feel walls and surfaces for unexpected moisture
- Look for signs of water damage in adjacent areas
- Pay special attention to corners and hidden spaces
A thorough initial inspection can prevent extensive water damage and costly repairs.
During your inspection, document all damage with photographs. These will be crucial for insurance claims and future repair planning. Remember that some damage might not be immediately visible, so be comprehensive in your assessment.
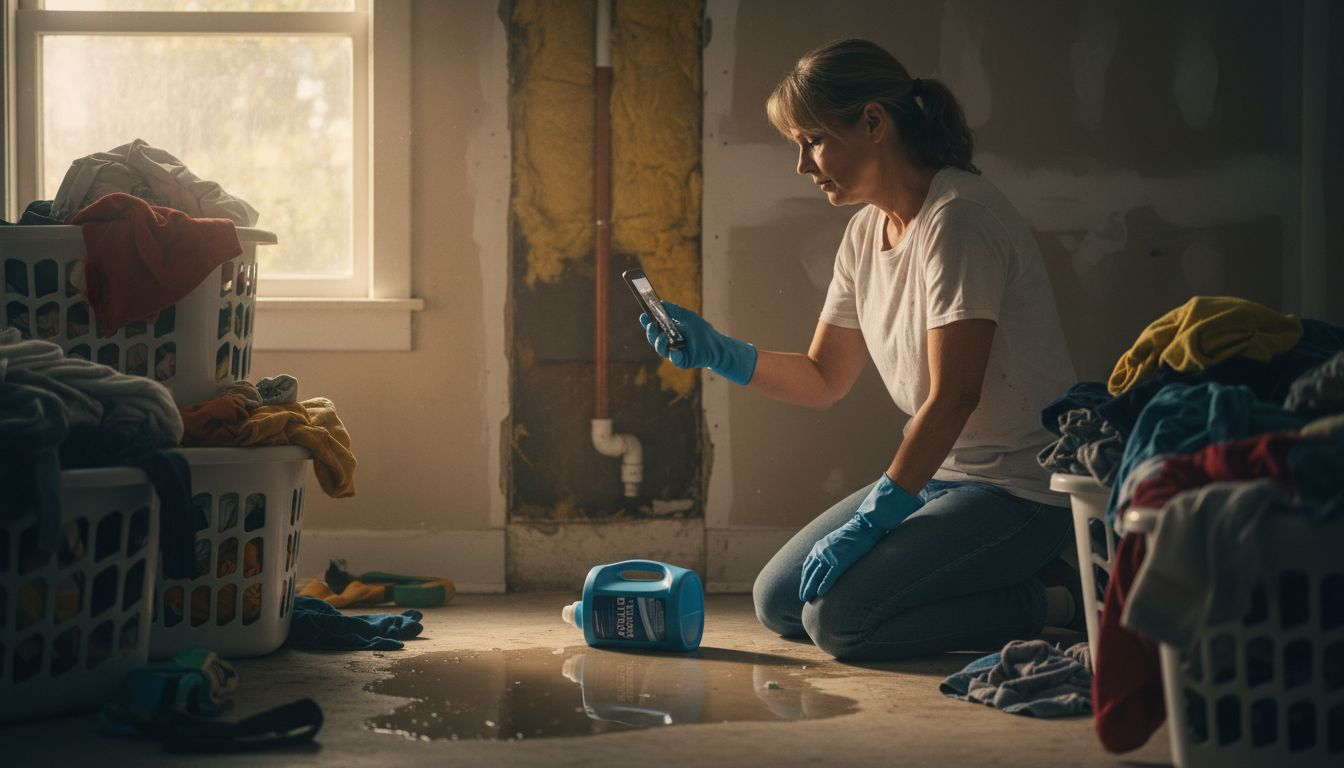
Use this quick reference to identify common burst pipe warning signs and what they indicate:
| Warning Sign | Potential Cause | Immediate Action Suggestion |
|---|---|---|
| Water stains on ceilings | Pipe leakage above | Inspect attic or upper floor |
| Bulging wall surfaces | Pressurized water behind wall | Carefully pierce to drain safely |
| Musty odors | Hidden moisture/mold | Use fan and dehumidifier |
| Unexplained puddles | Active leakage nearby | Check adjacent fixtures/walls |
Pro Tip: Wear protective gloves and use a moisture meter for more precise damage detection if possible.
Step 4: Apply a Temporary Pipe Repair
With the burst area located, your immediate goal is to prevent further water damage by applying a quick and effective temporary repair. Pipe repair techniques offer several options for emergency intervention.
Your temporary repair toolkit should include:
- Pipe repair clamps
- Waterproof epoxy putty
- Rubber pipe repair tape
- Silicone tape
- Pipe repair sleeves
Follow these steps for an emergency pipe repair:
- Clean and dry the damaged pipe section thoroughly
- Select the appropriate repair method based on pipe material
- Apply repair sleeve or tape around the damaged area
- Ensure a tight, leak-free seal
- Apply firm, even pressure during application
A proper temporary repair can prevent extensive water damage and buy crucial time before professional repairs.
Remember that these are stopgap measures designed to minimize immediate damage. The repair will not replace professional pipe replacement, but it can significantly reduce potential structural harm and water loss.
Here’s how different temporary pipe repair materials compare:
| Repair Material | Best Use Case | Durability | Time to Apply |
|---|---|---|---|
| Pipe repair clamp | Large pipe splits | Medium-term | Fast |
| Waterproof epoxy putty | Small cracks or pinhole leaks | Short-term | Moderate |
| Rubber pipe repair tape | Quick wraps for minor leaks | Very temporary | Very fast |
| Silicone tape | Emergency leaks in tight areas | Very temporary | Very fast |
| Pipe repair sleeve | Corroded segments | Short to medium-term | Moderate |
Pro Tip: Wear protective gloves and work carefully to ensure a secure temporary seal that prevents further water leakage.
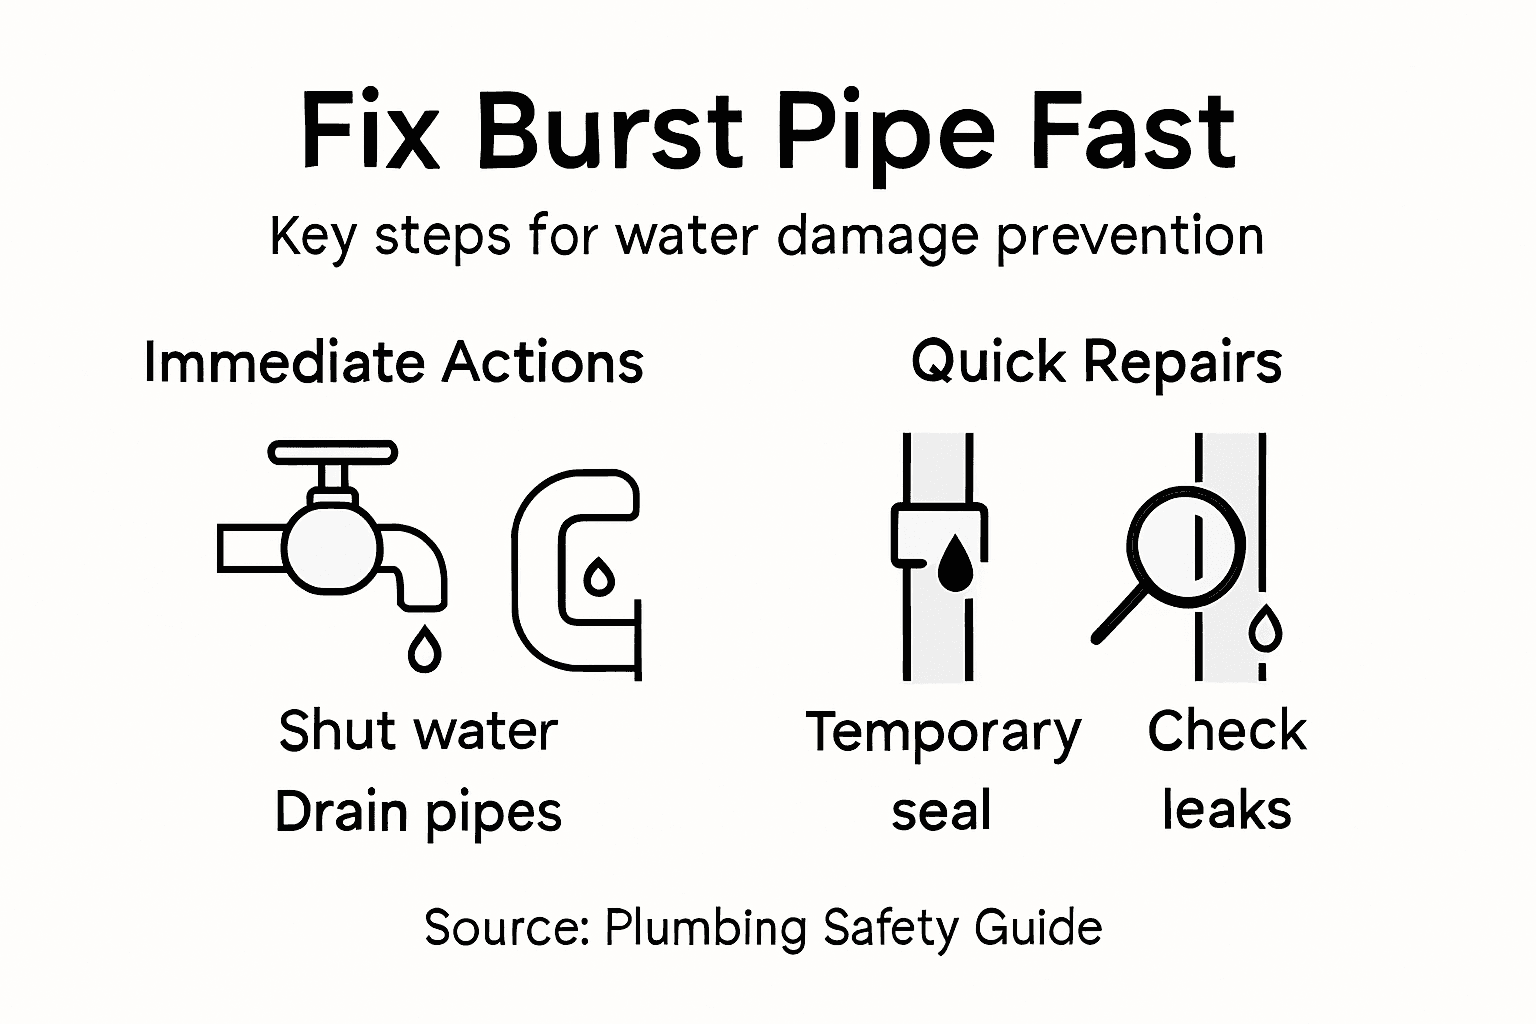
Step 5: Restore Water and Check for Leaks
After applying your temporary pipe repair, it’s time to carefully restore water flow and conduct a comprehensive leak inspection. Water system restoration requires a methodical and patient approach to ensure your plumbing remains intact.
Follow these critical steps for water restoration:
- Slowly turn the main water valve back on
- Open faucets to release trapped air
- Listen for unusual sounds or dripping
- Check repaired pipe section for immediate leaks
- Monitor water pressure carefully
Perform a detailed leak inspection using these techniques:
- Visually inspect the repaired area
- Feel around pipe joints for moisture
- Check adjacent walls and floors for water stains
- Run water through different fixtures
- Look for subtle signs of continued leakage
Slow and careful restoration can prevent additional damage and identify potential ongoing issues.
Remember that your temporary repair is just a stopgap measure. While it can prevent immediate water damage, you’ll need professional pipe replacement as soon as possible to ensure long-term plumbing integrity.
Pro Tip: Keep towels and a bucket nearby during water restoration to quickly address any unexpected leaks or water release.
Act Fast to Stop Water Damage with Expert Plumbing Support
A burst pipe can cause serious water damage in your Sacramento home if not handled swiftly and correctly. The article details vital steps like shutting off the main water supply, draining pipes safely, applying temporary repairs, and carefully restoring water flow. These actions require both knowledge and the right tools to protect your property from costly repairs and mold growth. When time is critical and you need reliable help, trust the professionals at Legacy Plumbing & Drain Inc.

Don’t let a burst pipe turn into a disaster. Our emergency plumbing experts specialize in fast, effective pipe repairs and water damage prevention. Whether you need assistance locating shutoff valves or applying secure temporary fixes, we are available 24/7 to give you peace of mind. Visit Legacy Plumbing & Drain Inc to schedule immediate service or learn more about our comprehensive plumbing solutions. Stop the stress now by choosing Sacramento’s trusted plumbing partner.
Explore how we can assist you with reliable repairs and professional guidance right when you need it most at Legacy Plumbing & Drain Inc. Protect your home with confidence by contacting us today.
Frequently Asked Questions
What should I do first when I have a burst pipe?
Shut off the main water supply immediately to prevent further water damage. Locate your home’s main shutoff valve and turn it clockwise completely to stop the water flow.
How can I drain the remaining water from my plumbing system?
To drain the water, open all cold water faucets in your home, starting from the highest level and working downward. Flush toilets and run outdoor spigots to release as much water as possible, reducing the risk of further damage.
How can I identify the location of a burst pipe?
Look for signs like water stains on walls or ceilings, unexplained puddles, bulging surfaces, or musty odors. Inspect areas near water pipes thoroughly to find the exact location of the burst.
What materials do I need for a temporary pipe repair?
You should have pipe repair clamps, waterproof epoxy putty, rubber pipe repair tape, silicone tape, and pipe repair sleeves. Gather these materials to create an effective temporary repair to limit water damage.
How do I check for leaks after making a temporary repair?
Slowly turn the main water valve back on and listen for unusual sounds while checking the repaired area for any moisture. Monitor adjoining walls and floors for stains to ensure the repair holds and no further leaks are present.
Why are temporary repairs important after a burst pipe?
Temporary repairs prevent immediate water damage and allow time for professional plumbing services. Apply a quick fix as soon as possible to minimize long-term structural issues and water loss.
Recommended
- 7 Essential Emergency Plumbing Tips 2026 For Homeowners – Legacy Plumbing & Drain – Emergency Plumbers Of Sacramento
- How To Address A Burst Pipe Causing Water Damage
- Understanding Why Pipes Burst: Causes And Effects – Legacy Plumbing & Drain – Emergency Plumbers Of Sacramento
- Understanding What Causes Pipe Bursts: Key Concepts – Legacy Plumbing & Drain – Emergency Plumbers Of Sacramento