
A silent drip under the kitchen sink in your Sacramento home can quickly turn into a costly mess if ignored. For homeowners who value both water savings and comfort, tackling a leaky faucet means more than just stopping that constant noise. With the right tools and a clear step-by-step plan, you can handle repairs yourself or know when it’s time to call reliable emergency plumbing services before water damage sets in. Mastering these simple faucet fixes puts you back in control of your home’s peace and safety.
Table of Contents
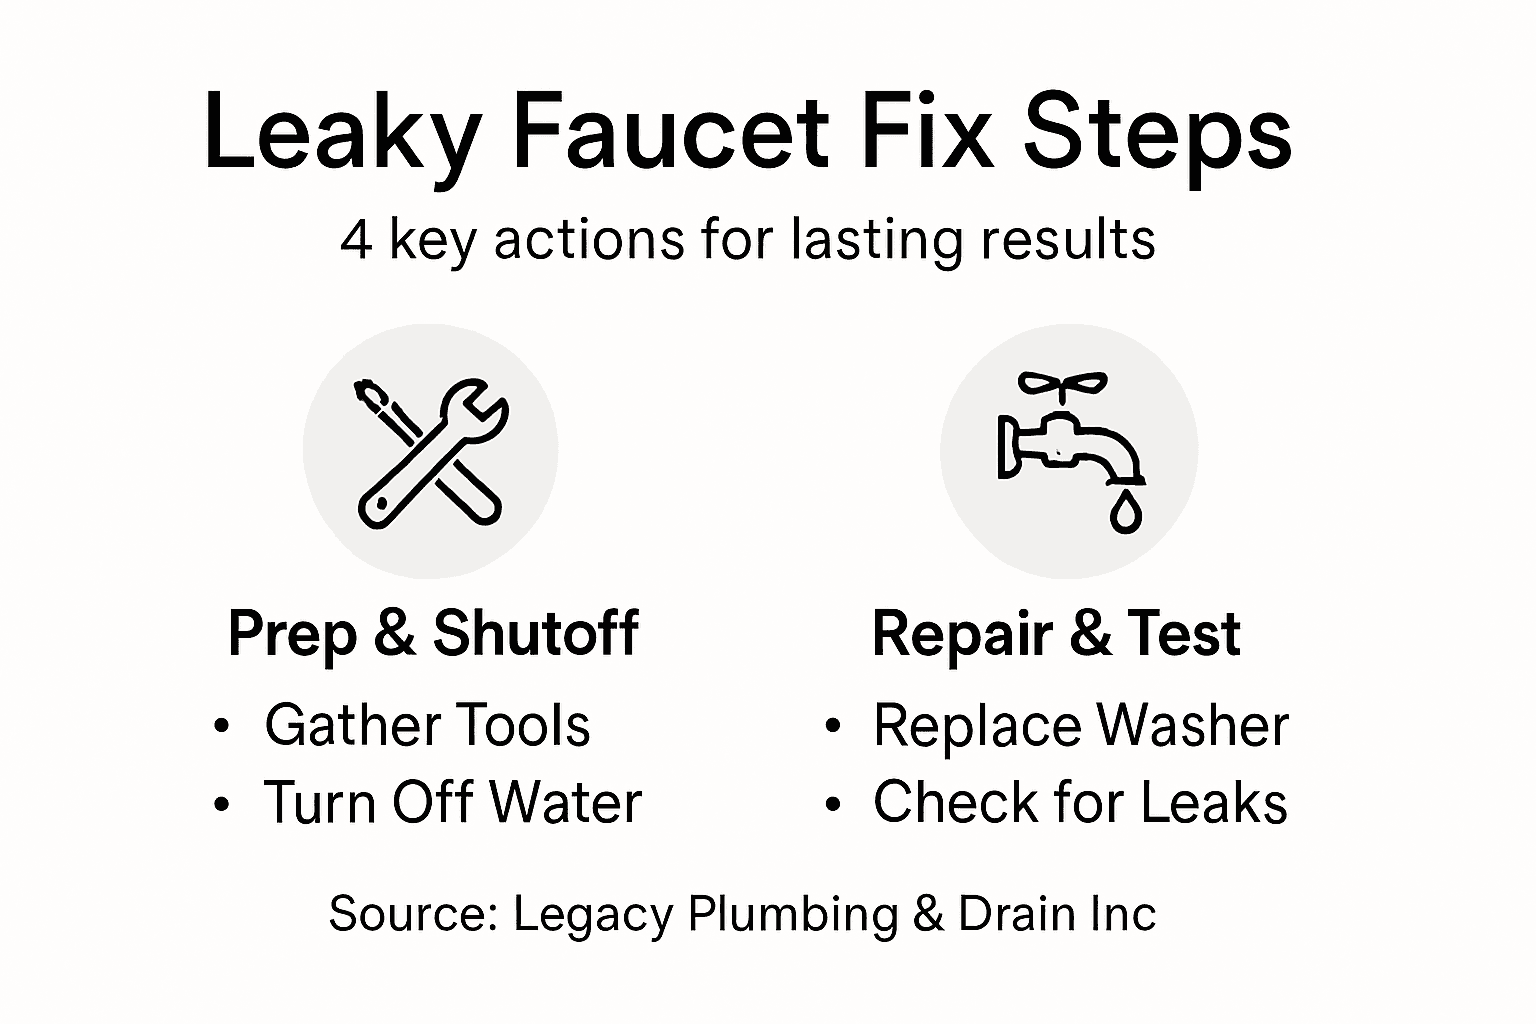
- Step 1: Gather Tools And Shut Off Water
- Step 2: Disassemble Faucet Safely
- Step 3: Replace Washers Or Seals
- Step 4: Reassemble Faucet And Test For Leaks
Quick Summary
| Key Point | Explanation |
|---|---|
| 1. Gather Tools First | Collect all essential tools like wrenches, screwdrivers, and replacement washers before starting the repair to ensure a smooth process. |
| 2. Shut Off Water Supply | Always turn off the water supply under the sink before disassembling the faucet to prevent leaks and water damage during repairs. |
| 3. Disassemble with Care | Remove faucet components systematically and keep track of parts using photos or labeling to ensure proper reassembly later. |
| 4. Replace Worn Washers/Seals | Inspect and replace any damaged washers or seals to eliminate leaks; ensure replacements are correctly sized for effectiveness. |
| 5. Test for Leaks After Reassembly | Carefully reassemble the faucet and test for leaks; even a small leak indicates a need for adjustments to seals or washers. |
Step 1: Gather Tools and Shut Off Water
Fixing a leaky faucet requires strategic preparation and the right equipment. Before diving into repairs, you’ll need to collect essential tools and safely stop water flow to prevent potential flooding or unexpected sprays.
First, assemble your repair toolkit. You’ll want these key items:
- Adjustable wrench
- Flathead and Phillips head screwdrivers
- Replacement washers
- Plumber’s grease
- Clean rags or towels
- Penetrating lubricant
Next, locate your sink’s water shut-off valves. These are typically positioned directly underneath the sink. Precise faucet disassembly techniques require completely cutting water supply to prevent unexpected water release.
Tip: Always turn shut-off valves clockwise slowly and steadily to avoid damaging the valve mechanism.
Once water is off, open the faucet handle to drain any remaining water and release internal pressure. This step prevents unexpected water spurts during the repair process and makes disassembly smoother.
Pro tip: Place a small bucket or towel underneath the sink to catch any residual water and protect your workspace from potential moisture.
Step 2: Disassemble Faucet Safely
With your tools ready and water supply shut off, you’re now prepared to carefully disassemble the faucet. This delicate process requires patience and precision to prevent damage to your plumbing fixtures.
Start by removing the decorative handle caps using a flathead screwdriver. Most faucets have small caps that hide the mounting screws – gently pry these off to reveal the underlying hardware. Careful faucet disassembly techniques are crucial to avoid breaking fragile components.
Next, use your screwdriver to remove the handle screws. If the screws are corroded or stuck, apply a penetrating lubricant and let it sit for a few minutes to help loosen the mechanism. When removing handles, use gentle wiggling motions to prevent forcing and potentially damaging the fixture.
Your disassembly steps will vary depending on the specific faucet type:
- Cartridge faucets require removing the cartridge
- Compression faucets need stem removal
- Ball-type faucets have unique disassembly requirements
Important: Take photos or carefully label each component during disassembly to ensure correct reassembly later.
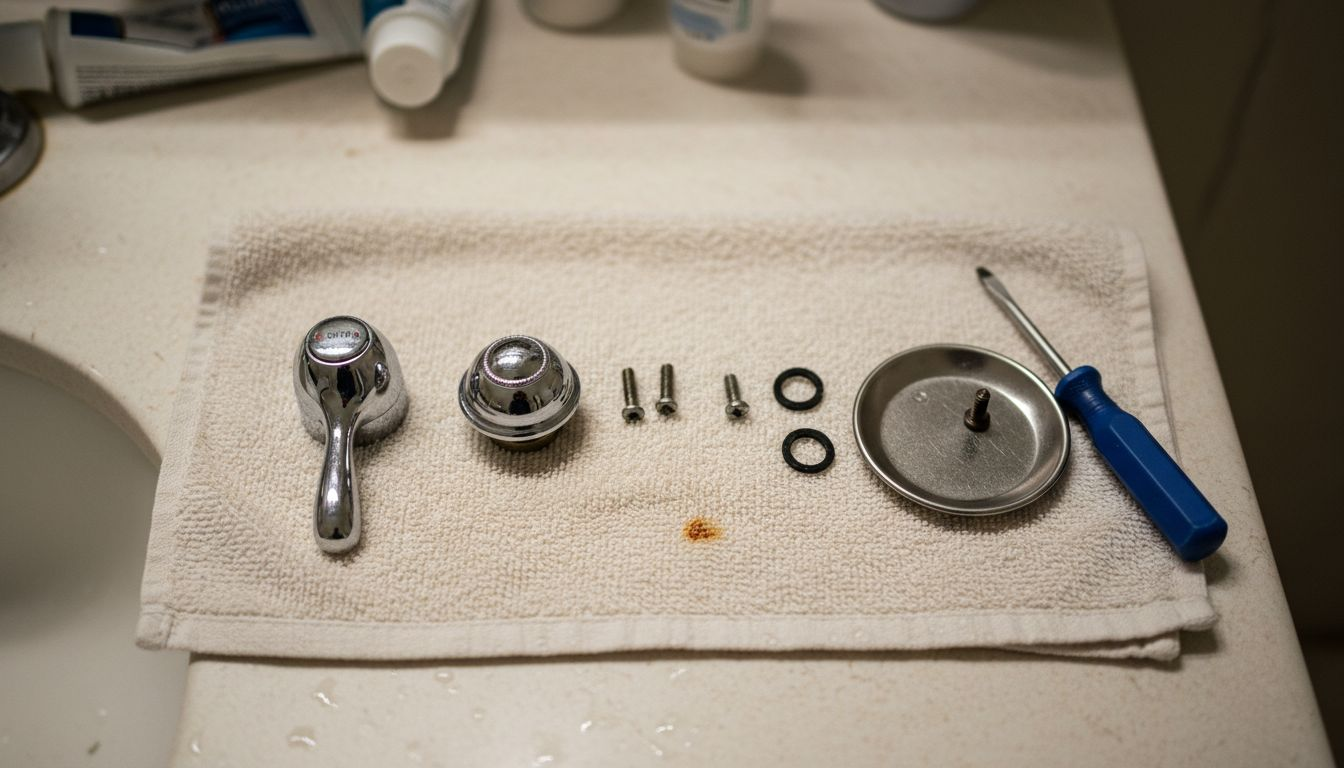
As you remove parts, place them in order on a clean towel to keep track of the sequence and prevent losing small components.
Pro tip: Keep a small magnetic parts tray nearby to prevent losing tiny screws and washers during the repair process.
Step 3: Replace Washers or Seals
With your faucet disassembled, identifying and replacing worn washers or seals is crucial to stopping persistent leaks. This step targets the root cause of most faucet dripping issues by addressing the components that create a watertight seal.
Proper washer replacement techniques begin with careful inspection of the existing components. Look closely for signs of wear such as brittleness, cracks, or visible deterioration. Examine each washer and O-ring carefully, comparing them to new replacements to ensure a precise match for your specific faucet model.
Before installation, prepare your new washers with a thin layer of plumber’s grease. This lubrication helps create a better seal and reduces friction during reassembly. When placing new washers, ensure they sit perfectly flat and are free from any debris or imperfections.
Different faucet types require specific approaches:
Here’s a quick comparison of common faucet types and their main repair differences:
| Faucet Type | Common Issue | Key Repair Step |
|---|---|---|
| Compression | Worn rubber washer | Replace rubber washer |
| Cartridge | Damaged O-ring | Replace O-ring and cartridge |
| Ball-type | Worn seals/springs | Replace seals and springs |
| Ceramic disc | Worn ceramic disc | Replace or clean disc |
- Compression faucets need rubber washers
- Cartridge faucets use specialized O-rings
- Ceramic disc faucets have unique sealing components
Critical: Ensure new washers are exactly the same size and shape as the original components.
Take extra care to clean all surfaces thoroughly before installing new seals. Any remaining debris can compromise the new seal’s effectiveness and lead to future leaks.
Pro tip: Bring your old washer to the hardware store to guarantee an exact replacement match.
Step 4: Reassemble Faucet and Test for Leaks
With new washers and seals in place, the final stage of your faucet repair involves carefully reconstructing the fixture and verifying its watertight performance. This critical step ensures all your previous work pays off with a fully functional, leak-free faucet.
Precise faucet reassembly techniques require reversing your earlier disassembly steps with meticulous attention to detail. Carefully replace each component in the exact order you removed them, making sure screws and nuts are tightened properly but not overly tight.
Once reassembled, you’ll want to test your repair systematically:
- Slowly turn on the water supply
- Check both hot and cold water handles
- Inspect all connection points for potential drips
- Run water at different pressures
Critical: Even a small leak indicates the repair needs adjustment.
Pay close attention to the base of the faucet, handle connections, and spout area. Sometimes tiny gaps can develop during reassembly that might cause future leaks. If you notice any water seepage, carefully disassemble and recheck your washer and seal placements.
Pro tip: Keep a dry paper towel underneath the faucet during initial testing to quickly detect any moisture.
This summary highlights essential reasons for each repair step:
| Step | Main Purpose | Mistake to Avoid |
|---|---|---|
| Shut Off Water | Prevent leaks and flooding | Leaving water supply on |
| Disassemble Faucet | Access internal components safely | Losing small parts |
| Replace Washers | Eliminate leaks at their source | Using wrong size washer |
| Reassemble & Test | Ensure watertight performance | Over-tightening screws |
Stop Leaky Faucets from Disrupting Your Day with Expert Help
A leaky faucet is more than just a small annoyance it can cause water waste and raise your utility bills while risking damage to your home. This article walks you through critical steps like shutting off water, disassembling faucets, and replacing worn washers to fix leaks properly and avoid future problems. If you face challenges like identifying the right washer size, managing fragile parts, or testing to ensure a leak-free result Legacy Plumbing & Drain Inc is here to support you.

Choose Legacy Plumbing & Drain Inc as your trusted emergency plumber in Sacramento to handle every detail from precise repairs to ensuring lasting faucet performance. Our skilled technicians work around the clock to deliver reliable, high-quality plumbing service that restores comfort and peace of mind. Don’t let a dripping faucet turn into a costly headache contact us today through our website to schedule expert assistance. Discover all our plumbing solutions designed with your home in mind. Visit Legacy Plumbing & Drain Inc and get your faucet fixed right the first time.
Frequently Asked Questions
What are the essential tools needed to fix a leaky faucet?
You will need an adjustable wrench, flathead and Phillips head screwdrivers, replacement washers, plumber’s grease, clean rags or towels, and penetrating lubricant. Gather these tools before starting the repair to ensure a smooth process.
How do I safely shut off the water supply to my faucet?
Locate the water shut-off valves under the sink and turn them clockwise to stop the water flow. After shutting off the water, open the faucet handle to drain any remaining water and release internal pressure before starting the repair.
How can I determine which washers or seals need to be replaced in my faucet?
Carefully inspect the existing washers and seals for signs of wear, such as brittleness or cracks. Compare the old components with new replacements to ensure they match in size and shape before proceeding with the repair.
What steps should I follow to reassemble my faucet after replacing the washers?
To reassemble the faucet, carefully reverse the disassembly steps and ensure that all components are reinstalled in the same order. Tighten screws and nuts properly without over-tightening to prevent damage.
How can I test my faucet for leaks after completing the repair?
Turn the water supply back on slowly and check both hot and cold water handles for leaks. Inspect connection points carefully; even a small drip indicates that the repair may need adjustment.
What should I do if my faucet continues to leak after replacing washers and seals?
If the faucet continues to leak, double-check the installation of washers and seals for any misalignment or debris. You may need to disassemble the faucet again to ensure all components are properly placed and secure.
Recommended
- Sacramento Water Heater Leaks: Causes & Quick Fixes | Legacy Plumbing & Drain
- Emergency Plumbing Tips For Sacramento Homeowners | Legacy Plumbing & Drain
- How To Fix Leaky Faucet: Fast Solutions For Sacramento Homes – Legacy Plumbing & Drain – Emergency Plumbers Of Sacramento
- How To Choose The Best Plumber In Sacramento For Water Heater Leak Repairs
- How to Repair Roof Leaks: Step-by-Step for Homeowners – J. A. Kelly Contracting Services