A slow drip under the kitchen sink or a mysterious water stain in your bathroom can turn any Sacramento homeowner’s day upside down. Minor plumbing issues often start small but can quickly become urgent if ignored. Smart DIY troubleshooting not only saves money but helps you spot and manage problems before calling a professional plumber. This guide walks you through practical steps to gather essential tools, safely inspect problem areas, and make simple repairs with confidence.
Table of Contents
- Step 1: Gather Essential Tools And Safety Gear
- Step 2: Identify And Locate Plumbing Problem Areas
- Step 3: Shut Off Water And Inspect Affected Fixtures
- Step 4: Perform Basic Repairs For Leaks And Clogs
- Step 5: Test Repairs And Check For Recurring Issues
Quick Summary
| Key Point | Explanation |
|---|---|
| 1. Assemble essential tools for plumbing | Gather critical hand tools like wrenches, pliers, and screwdrivers to effectively address plumbing issues. |
| 2. Conduct thorough inspections for leaks | Regularly check faucets, pipes, and connections for signs of moisture or damage to prevent costly repairs. |
| 3. Shut off water before repairs | Always locate and turn off the main water supply to minimize damage before starting any plumbing repairs. |
| 4. Test repairs for effectiveness | After completing repairs, monitor fixtures for leaks and unusual sounds to ensure problems are resolved. |
| 5. Keep a toolkit for quick fixes | Maintain a small kit with essential repair items to handle minor plumbing issues as they arise. |
Step 1: Gather essential tools and safety gear
Preparing for home plumbing troubleshooting requires smart planning and the right equipment. Before diving into any repair, you’ll need to assemble a comprehensive toolkit that ensures both effective repairs and personal safety.
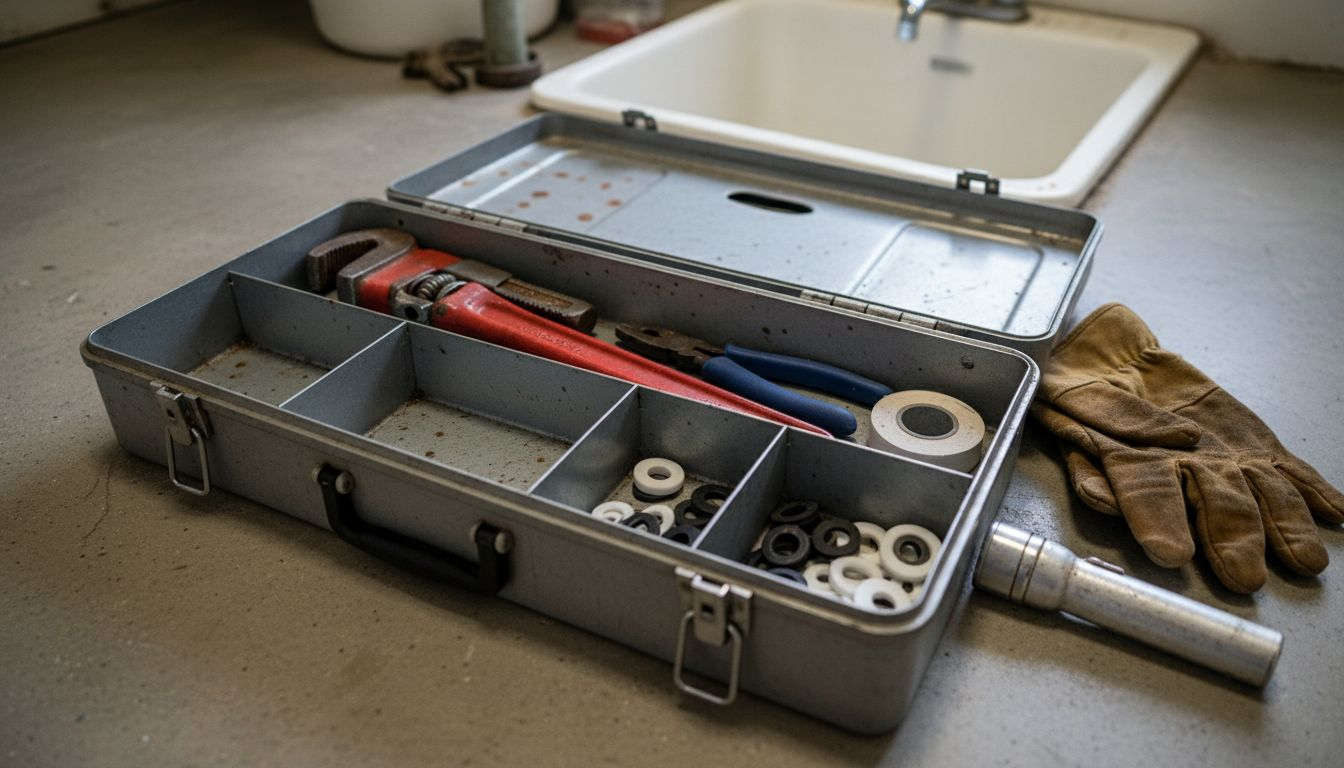
Your essential toolkit should include several key items. Start with fundamental hand tools that will help you diagnose and address common plumbing issues:
- Adjustable wrench for gripping and turning pipes and fittings
- Pipe wrench for securing and rotating larger plumbing connections
- Pliers (needle-nose and channel lock) for gripping and manipulating small components
- Screwdriver set with multiple sizes and head types (flathead and Phillips)
- Plumber’s tape for sealing pipe threads and preventing leaks
- Utility knife for cutting pipes, tape, and other materials
Personal safety cannot be overlooked. According to comprehensive safety guidelines for tool use, proper protective equipment is crucial when performing home repairs. Here’s what you’ll need:
- Safety glasses to protect your eyes from debris and water
- Work gloves to shield hands from sharp edges and potential chemical exposure
- Non-slip closed-toe shoes to prevent accidents on wet surfaces
- Long pants and sleeves to minimize potential skin contact with tools or water
Proper tool maintenance and inspection are as important as having the right equipment. Always check your tools for damage before starting any repair project.
Pro tip: Store your tools in a dedicated, dry toolbox or bag to keep them organized and prevent rust or damage between uses.
Step 2: Identify and locate plumbing problem areas
Tracking down potential plumbing issues requires a systematic approach and keen observation. Understanding complex building plumbing systems helps you pinpoint trouble spots before they escalate into major repairs.
Begin by conducting a comprehensive visual inspection of your home’s key plumbing zones. Focus on these critical areas:
- Water supply lines running through walls and under floors
- Faucets and fixtures in kitchen, bathroom, and utility areas
- Toilet base and tank for signs of moisture or subtle leaks
- Under-sink cabinets to check for water damage or pipe condensation
- Exposed pipe connections near water heaters and appliances
- Exterior hose bibs and outdoor plumbing fixtures
Look for telltale signs of potential problems:
Here’s a summary of common plumbing problem indicators and what they might signal:
| Sign Detected | Possible Cause | Suggested Action |
|---|---|---|
| Discolored water stain | Leak behind surface | Inspect area for hidden leak |
| Musty odor | Trapped moisture | Ventilate, check for mold |
| Unexplained puddle | Active pipe or fixture leak | Trace source and repair |
| Peeling paint/wallpaper | Water damage from plumbing | Repair leak and repaint |
| Unusual sounds | Partial clog or pipe issue | Test drainage and listen |
- Discolored water stains on walls or ceilings
- Musty odors indicating hidden moisture
- Unexplained puddles around fixtures
- Peeling paint or wallpaper near plumbing lines
- Unusual sounds like dripping or gurgling
Consistent monitoring prevents small issues from becoming expensive emergencies.
Pro tip: Create a simple home plumbing map marking all major pipe locations and fixture connections to streamline future inspections and repairs.
Step 3: Shut off water and inspect affected fixtures
Before diving into repairs, you need to stop potential water damage in its tracks. Preventing further plumbing system complications starts with quickly and effectively shutting off your water supply.
Locate your home’s main water shutoff valve, which is typically found in these common areas:
- Basement near the front foundation wall
- Crawl space close to the water meter
- Garage along an exterior wall
- Outside near the street in a underground utility box
- Utility room adjacent to water heater
Once you’ve found the main valve, follow these critical inspection steps:
- Turn the main water valve completely off
- Check for any residual water flow from faucets
- Drain remaining water by opening lowest level faucets
- Inspect visible pipe connections for damage or leaks
- Look for water stains on walls, ceilings, and floors
Quick action can prevent minor leaks from becoming expensive home repairs.
Carefully examine each affected fixture, looking for signs of wear, corrosion, or unexpected moisture. Pay special attention to pipe joints, fixture bases, and connection points.
Pro tip: Take photos of any damage for potential insurance claims and to help professional plumbers understand the full extent of the problem.
Step 4: Perform basic repairs for leaks and clogs
Now that you’ve identified the problem, it’s time to tackle those pesky plumbing issues head-on. Basic indoor plumbing repairs can save you money and prevent more serious damage down the line.
For minor leaks, you’ll want to focus on these specific repair techniques:
- Faucet leaks often require replacing worn washers or O-rings
- Toilet base leaks might need wax ring replacement
- Pipe connection leaks can be fixed with pipe tape and tightening
- Supply line drips may need new connector seals
Clog-clearing methods depend on the fixture and severity of blockage:
- Plunger for toilets and sink drains with minor blockages
- Drain snake for deeper clogs in pipes
- Enzymatic drain cleaner for organic buildup
- Remove and clean P-traps under sinks for persistent clogs
Small repairs today can prevent expensive water damage tomorrow.
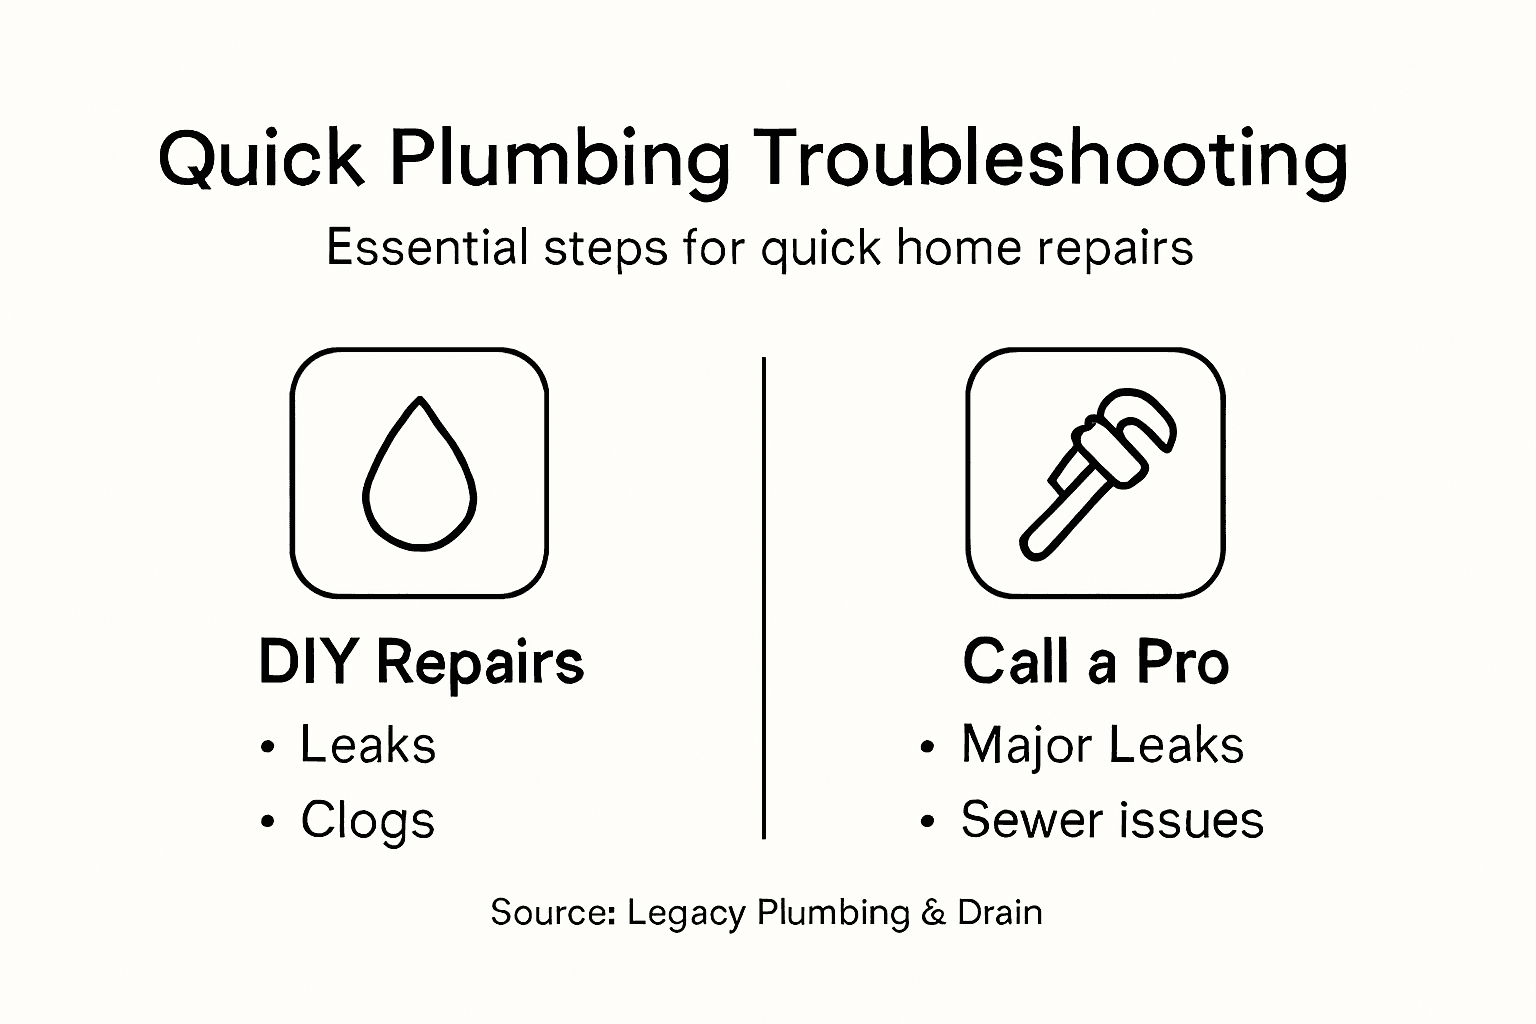
Work carefully and methodically. If a repair seems beyond your skill level, don’t hesitate to call a professional plumber to prevent potential water damage or system complications.
This table contrasts basic plumbing repair tasks and when professional help is recommended:
| Repair Task | DIY Appropriate | Call a Pro If |
|---|---|---|
| Replacing washers | Simple leaks | Leak persists or worsens |
| Wax ring replacement | Visible minor issue | Continued leaks, instability |
| Pipe tape fixes | Minor joint leaks | Major joint movement |
| P-trap cleaning | Routine clog under sink | Severe backup, bad odor |
| Drain snaking | Shallow clogs | Repeated or deep clogging |
Pro tip: Keep a small repair kit with basic plumbing tools, washers, and tape readily accessible for quick fixes.
Step 5: Test repairs and check for recurring issues
Your repair work isn’t complete until you’ve thoroughly tested the results. Comprehensive repair verification helps ensure your efforts resolve the original plumbing problem and prevent future complications.
Follow this systematic testing approach for different plumbing repairs:
- Faucet repairs: Run water and check for consistent flow and no dripping
- Toilet fixes: Flush multiple times and inspect for leaks around base and tank
- Pipe connection repairs: Gradually increase water pressure and observe sealed areas
- Drain unclogging: Test water drainage speed and watch for complete clearance
Key testing steps include:
- Restore water supply slowly and carefully
- Observe repair sites for immediate signs of failure
- Monitor repaired areas over next 24-48 hours
- Check for hidden moisture using paper towels or moisture meter
- Listen for unusual sounds that might indicate incomplete repair
Small, patient tests can prevent major plumbing disasters down the line.
If you notice persistent issues or feel uncertain about the repair’s effectiveness, don’t hesitate to contact a professional plumber for a thorough assessment.
Pro tip: Take smartphone photos of your repair process and test results to help professionals diagnose any lingering problems if needed.
Take Control of Your Home Plumbing Troubles with Expert Help from Legacy Plumbing & Drain Inc
Home plumbing issues like leaks and clogs can quickly turn into costly headaches if left unchecked. This guide highlights critical steps such as gathering the right tools, identifying problem areas, and performing basic repairs. However, when repairs become complex or persistent problems threaten your home, you need fast and reliable professional support.
Protect your home and peace of mind by choosing Legacy Plumbing & Drain Inc for expert plumbing repair and emergency services in Sacramento. From minor faucet leaks to major pipe issues, our licensed technicians deliver dependable solutions 24 hours a day. Discover how our plumbing, pipe supply, and drainage services can restore comfort and safety to your home today by visiting our official website. Don’t wait—address small plumbing problems before they turn into expensive emergencies. Contact us now for trusted assistance tailored to your needs.
Frequently Asked Questions
What tools are essential for home plumbing troubleshooting?
You’ll need a basic toolkit that includes an adjustable wrench, pipe wrench, pliers, a screwdriver set, plumber’s tape, and a utility knife. Gather these tools before starting any repairs to efficiently address plumbing issues.
How can I identify plumbing problem areas in my home?
Conduct a visual inspection of key plumbing zones, including water supply lines, faucets, toilets, under-sink cabinets, and exposed pipes. Look for signs such as discoloration, musty odors, and unexplained puddles to pinpoint trouble spots.
What steps should I take to shut off my water supply before repairs?
Locate the main water shutoff valve, often found in the basement, garage, or near the water meter. Turn it off completely, check for residual water flow, and drain remaining water by opening the lowest faucets in your home.
How do I perform basic repairs for common plumbing leaks?
For minor leaks, focus on replacing worn washers or O-rings for faucets, replacing the wax ring for toilets, and ensuring pipe connections are tight with plumber’s tape. Take action promptly to prevent further water damage and costly repairs.
What testing should I do after making plumbing repairs?
After completing repairs, restore the water supply slowly and observe for leaks or unusual sounds. Monitor the repaired areas for 24-48 hours to ensure the fixes hold and address any lingering issues if they arise.
When should I consider calling a professional plumber?
If a plumbing issue persists despite your repairs or you encounter a major leak, don’t hesitate to call a professional. Seeking expert help can prevent further damage and ensure your plumbing system operates effectively.
Recommended
- Emergency Plumbing Tips For Sacramento Homeowners | Legacy Plumbing & Drain
- 7 Essential Emergency Plumbing Tips 2026 For Homeowners – Legacy Plumbing & Drain – Emergency Plumbers Of Sacramento
- DIY Bathroom Plumbing Repairs Made Easy For Homeowners – Legacy Plumbing & Drain – Emergency Plumbers Of Sacramento
- Roseville & Rocklin Emergency Plumbers | 24/7 Repairs Available